
/*
POST TITLE: Laptop RAM Installation Troubleshooting — Post-Install Issues & Fixes
SLUG: laptop-ram-installation-troubleshooting
CATEGORIES: [89, 127]
FOCUS KEYWORD: laptop RAM installation troubleshooting
META DESCRIPTION: Fix common issues after installing new RAM. Learn why your laptop won’t boot, recognise slow RAM, or detect only partial capacity.
*/
RAM upgrades often cause post-installation issues: system won’t boot, only partial capacity detected, or random crashes. These problems are usually caused by improper seating, incompatible modules, or BIOS settings. This guide covers diagnosis and fixes.
Common Post-Installation Issues
| Symptom | Likely Cause | Difficulty |
| Laptop won’t boot at all | RAM not fully seated or incompatible module | Easy fix |
| Only partial RAM capacity detected | One module not fully seated, or BIOS slot disabled | Medium |
| Random crashes under load | Mixed RAM speeds, bad memory slot, or defective module | Hard to diagnose |
| No display/beeping after RAM install | RAM conflict with graphics (shared system memory) | Medium |
Troubleshooting Flowchart
Step 1: Does the laptop POST (power on) at all?
- No POST: RAM is not seated properly or is incompatible. Go to “Reseating RAM” section.
- Yes, boots to Windows/macOS: Go to “RAM Capacity Issues” section.
Issue 1: Laptop Won’t Boot or Doesn’t POST
Symptom: No lights, no fans, completely dead
Check these in order:
- Is the power adapter plugged in and the light on? Test the adapter with the original RAM installed.
- Is the battery charged? Some laptops won’t boot on a critically low battery even with adapter plugged in. Charge for 15 minutes first.
- Try the original RAM: Remove your new RAM and reinstall the original. Does it boot? If yes, the new RAM is incompatible or defective. If no, the problem is unrelated to RAM.
Symptom: Fans spin, lights on, but no display or beeping
This usually means the motherboard detected an incompatibility and is halting the boot. Fix:
- Remove the new RAM. Boot with only the original RAM. Confirm the laptop works normally.
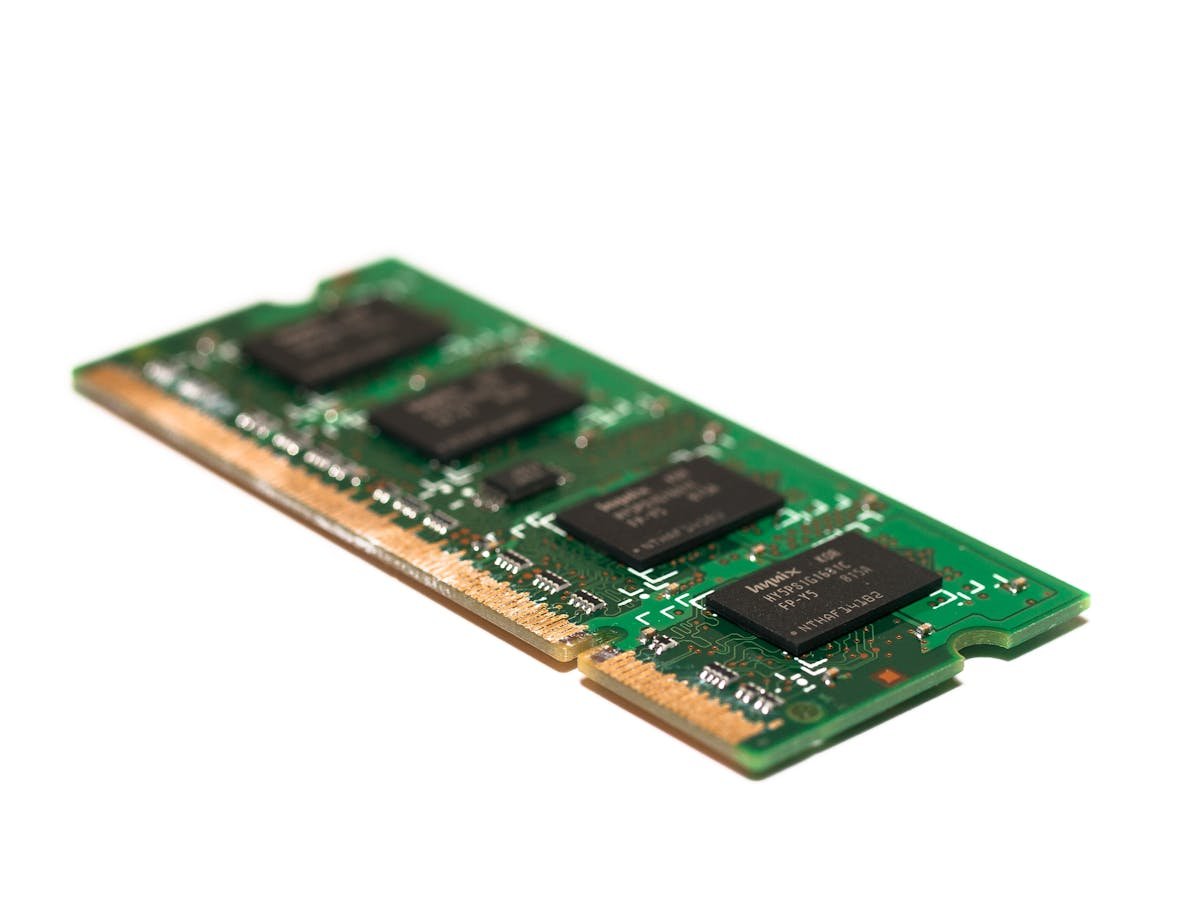
- Reseat the new RAM. Power off, remove the new module, and reinsert it. Apply firm pressure until the clips lock on both ends. You should hear a click.
- Try one slot at a time. If you installed two modules, remove one and boot with just the new RAM alone. If it boots with just the new module in one slot, the other slot may be incompatible or the original RAM may be failing.
- Check RAM compatibility: Verify the new RAM’s speed (MHz) and CAS latency match your laptop’s specifications. Search “[Your laptop model] RAM specifications” on the manufacturer’s site or your service manual.
Symptom: Beeping codes after RAM install
Beep codes vary by BIOS manufacturer but usually indicate memory error:
- 1 beep, pause, 2 beeps = Memory issue (most common)
- Continuous beeping = RAM not seated
- No beeps at all but no boot = Possible memory conflict
Solution: Reseat RAM firmly in both slots. Ensure clips are fully locked. If beeping continues, remove the new RAM and confirm the original RAM boots cleanly.
Issue 2: Only Partial RAM Capacity Detected
Windows Diagnosis:
Right-click My Computer → Properties. Under “Installed RAM”, you should see the total capacity (e.g., 32GB if you installed 16GB + 16GB). If it shows less (e.g., 16GB), one slot is not being recognized.
Open Device Manager → Memory. If you see one RAM module listed instead of two, a slot is disabled or not recognised. This is a BIOS-level issue.
macOS Diagnosis:
Apple menu → About This Mac → Memory. If you installed two modules, both should be listed with their speeds. If one is missing, a slot has a problem or BIOS is limiting capacity.
Fix 1: Reseat Both Modules
Power off. Remove both RAM modules. Reinsert them one at a time, applying firm pressure until the clips lock completely. Some slots require slightly more pressure than others. Reseat both, power on, and recheck capacity in System Information.
Fix 2: Check BIOS Settings
Restart and enter BIOS (usually Delete, F2, or F10 key during boot—check your laptop’s startup screen). Navigate to Memory or Advanced Settings. Look for options like:
- “Memory Below 4GB” or “Memory Remapping”
- “Channel Interleave” (should be auto or enabled)
- “XMP/DOCP” (Intel XMP, AMD DOCP — check if it’s enabled correctly)
Reset any unusual settings to Defaults or Auto. Save and reboot. This often fixes partial-capacity detection.
Fix 3: Try Modules Individually
Power off. Remove both new modules. Install just the original RAM and boot—capacity should be full. Power down. Remove original, install one new module only, boot—check if it’s detected. Then try the other new module in the same slot. This identifies which module or slot is problematic.
Issue 3: Random Crashes, Blue Screens, or System Instability
Symptom: Crashes under heavy load (gaming, video rendering)
This suggests bad memory or incompatible speeds:
- Test with original RAM only. Boot with only the original RAM installed. Run stress tests (MemTest86, Prime95). If crashes continue, the problem is not your new RAM.
- Test with new RAM only. Boot with only new RAM and run stress tests. If stable, both modules are fine but may have compatibility issues when paired.
- Run MemTest86. Create a bootable USB with MemTest86 and run it for at least one full pass. Errors indicate bad memory. If errors appear, the module is defective and should be returned.
Symptom: Crashes only under specific conditions (certain games, video apps)
This usually indicates mixed RAM speeds or integrated graphics memory conflicts:
- Check both modules’ speeds: Windows: CPU-Z → SPD tab, select each module. macOS: System Report → Memory → Speed column.
- If speeds differ, your laptop may not support mixed-speed configurations. Contact the RAM vendor for a matching module.
- For integrated graphics: Modern laptops allocate system RAM for GPU tasks. If new RAM is incompatible, graphics operations can cause crashes. Revert to original RAM and consult the manufacturer about GPU-compatible RAM specifications.
Quick Fixes Checklist
- [ ] Power off and remove the battery (or wait 10 minutes with adapter unplugged)
- [ ] Reseat RAM: remove both modules, reinsert firmly until clips lock
- [ ] Verify both modules are seated fully on both ends (left and right clips should be locked)
- [ ] Test with original RAM only to isolate the problem
- [ ] Check BIOS: enter BIOS and reset memory settings to Default/Auto
- [ ] Run MemTest86 to check for defective modules
- [ ] Verify RAM speed/CAS latency matches your laptop’s specifications
- [ ] Try modules one at a time in each slot to identify which is problematic
When to Return RAM vs Troubleshoot Further
If after reseating and BIOS adjustments the problem persists:
- Return the RAM if: MemTest86 shows errors, only one module is recognized even in different slots, or the module doesn’t match specifications.
- Keep troubleshooting if: Crashes only occur under specific workloads, BIOS shows full capacity recognized, and MemTest86 passes.
Related Guides
FAQ
Recommended Products
Looking for compatible upgrades? Here are our top picks available on Amazon:
Recommended Laptop RAM Upgrades
As an Amazon Associate we earn from qualifying purchases. Prices & availability shown on Amazon.
How we verify this guide
We cross-reference compatibility figures against manufacturer specifications where available, official service manuals, and the standards that govern fit — memory type and speed (DDR4 / DDR5 / LPDDR5), maximum supported capacity and slot count, SSD form factor and interface (M.2 2280, NVMe PCIe vs SATA, keying), and charger wattage and connector (USB-C Power Delivery, GaN). We’re explicit about soldered or non-upgradeable parts, prioritise primary sources over retailer listings, and re-verify the data on a regular cycle. More on our method →