
An SSD upgrade is often the single most impactful performance improvement you can make to an ageing laptop. Moving from a mechanical hard drive to an SSD — or from a slower SSD to a newer, faster one — can transform boot times from minutes to seconds and application launches from sluggish to instant. This guide covers everything you need to know about how to upgrade laptop SSD, from checking compatibility to installing and verifying your new drive.
Step 1: Check Your Laptop’s SSD Type and Form Factor
Laptop SSDs come in different form factors (physical shapes and sizes). Buying the wrong size is the most common SSD upgrade mistake. Your laptop may accept one of these:
| Type | Form Factor | Speed | Typical Laptops |
|---|---|---|---|
| M.2 NVMe | 2230, 2242, 2280, or 22110 | Up to 7,000+ MB/s | 2015+ laptops (most modern machines) |
| M.2 SATA | 2280 | 550 MB/s (SATA limit) | 2013–2016 laptops |
| 2.5″ SATA | 2.5″ (like a small external drive) | 550 MB/s (SATA limit) | 2012 and older laptops |
How to Find Your SSD Type:
- Windows: Open Device Manager → Disk drives. Right-click your SSD → Properties → Driver tab → look for “PM991” (Samsung NVMe), “SK Hynix” (NVMe), or “SATA” (older drive).
- Better option: Download CrystalDiskInfo (free) → it shows exact model, speed, form factor.
- Check your manual: Search “your laptop model + SSD specs” — manufacturer specs will list the type and max size.
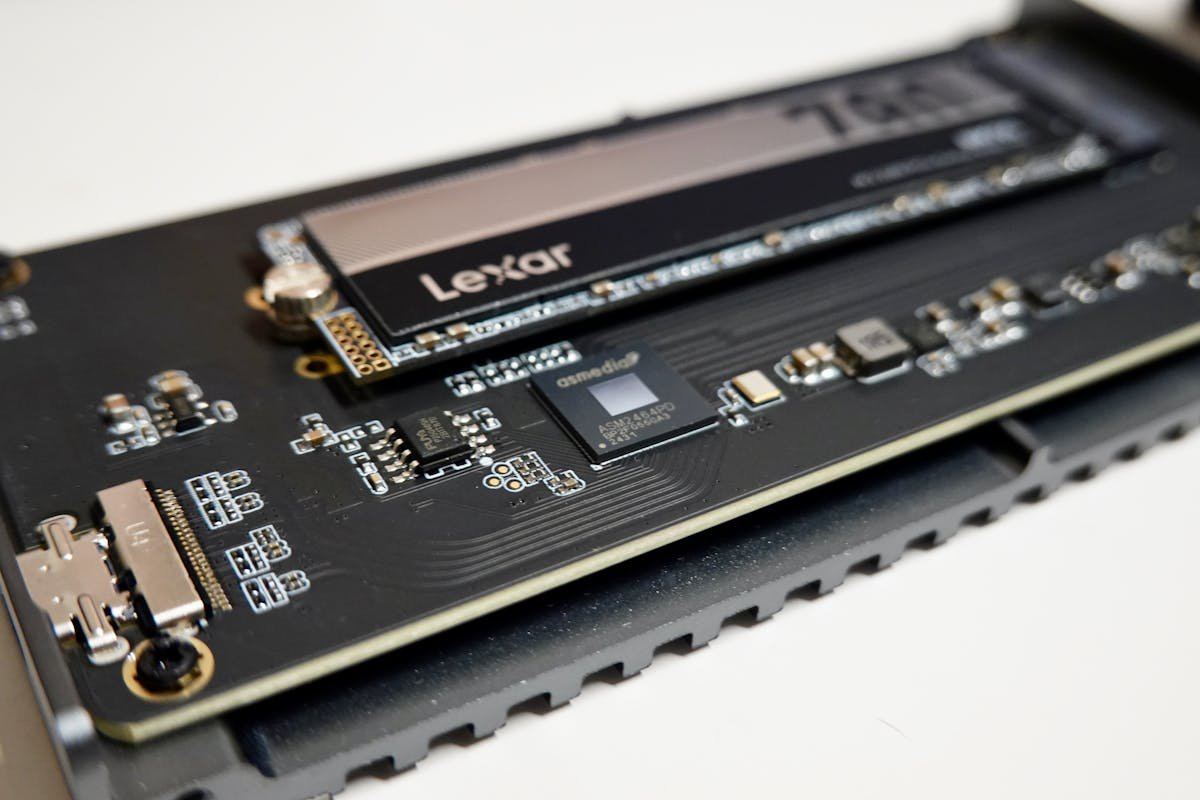
- Physical inspection: Open the bottom panel (see RAM upgrade guide) and look at the drive. M.2 NVMe is a thin rectangular stick (~8 cm long). 2.5″ SATA is a thick rectangle like a small hard drive.
Form Factor Sizes (Most Common):
- 2280: 22 mm wide, 80 mm long — fits almost all modern laptops.
- 2242: 22 mm wide, 42 mm long — rarer; some ultrabooks.
- 2230: 22 mm wide, 30 mm long — newer, ultra-compact (some Framework, Microsoft Surface).
- 2.5″: 2.5 inches wide (standard). Old drives like your current HDD.
If unsure, check our SSD compatibility hub — it lists SSD support by laptop model, or check your laptop’s official specifications page.
Step 2: Determine Maximum SSD Capacity Supported
Most modern laptops support up to 2 TB SSDs, but some older ones max out at 512 GB or 1 TB. Check your manufacturer’s specs — there’s no point buying a 2 TB drive if your laptop only recognizes 1 TB.
This is typically not a hard limit (the drive will work) — it’s just that some BIOS versions don’t support larger capacity. Firmware updates may fix this, but it’s safer to stay within your confirmed max.
Step 3: Choose Your New SSD
When buying a laptop SSD, match these specs:
| Spec | What to Match | Notes |
|---|---|---|
| Type | M.2 NVMe if you have it; SATA if older laptop | These are NOT interchangeable. Wrong type won’t fit. |
| Form Factor | Exact size — 2280, 2242, 2230, or 2.5″ | Wrong size won’t fit. Measure your current drive. |
| Speed | NVMe Gen 3+ (3,500+ MB/s read) — Gen 4 (7,000 MB/s) if your laptop supports it | Faster is better for real-world performance, but overkill if upgrading from HDD |
| Capacity | Up to your laptop’s max (512 GB–2 TB typical) | More storage = longer laptop lifespan before filling up |
Recommended SSDs (with affiliate links):
- Best overall: Samsung 970 EVO Plus — fast, reliable, widely available.
- Best budget: Kingston A2000 — solid speed, good value.
- Best performance: Samsung 990 Pro — if your laptop supports Gen 4 NVMe.
- For SATA (older laptops): Samsung 860 EVO — excellent SATA drive.
- Avoid: Very cheap no-brand drives from eBay/AliExpress — they fail, and SSDs fail without warning.
Step 4: Prepare to Clone Your Existing Drive
When upgrading an SSD, you have two options:
- Clone the old drive: Copy everything (OS, programs, files) to the new SSD. Fastest approach — just swap drives and boot.
- Clean Windows install: Wipe the old drive, do a fresh Windows install on the new SSD. Takes longer but can be cleaner.
Cloning is easier for most people. Here’s how:
What You’ll Need:
- An external M.2 enclosure — a USB-powered adapter that lets your new SSD connect to your laptop like a USB drive (around £10–20). Buy on Amazon.
- Cloning software: Free options:
- Macrium Reflect Free (Windows) — easiest for beginners.
- Samsung Data Migration (free, if using Samsung SSD).
- Clonezilla (free, Linux-based, more technical).
- A USB cable to connect the external enclosure to your laptop.
Clone Process (Overview):
- Install new SSD in the external M.2 enclosure.
- Plug enclosure into your laptop via USB.
- Download and run Macrium Reflect Free (or your chosen tool).
- Select source: your current internal drive. Select destination: the external SSD.
- Click “Clone” and wait (30 minutes–2 hours depending on drive capacity).
- When complete, shut down, open the laptop, swap the SSDs (remove old, install new).
- Boot — your laptop will start exactly as before, but faster.
See detailed clone steps below when you’re ready to install.
Step 5: Gather Tools and Open Your Laptop
Tools Needed:
- Phillips #0 or #1 screwdriver (magnetic tip preferred).
- Plastic opening tool (or plastic spoon handle).
- Flashlight or headlamp.
- Anti-static wrist strap (optional but recommended, especially for NVMe).
Opening the Laptop:
- Shut down completely. Unplug power and remove the battery (if removable).
- Wait 30 seconds for residual power to drain.
- Remove bottom panel screws (usually 4–10 screws).
- Gently pry off the bottom panel (don’t use a screwdriver — use a plastic spoon handle).
- Locate the M.2 slot — a small horizontal slot on the motherboard, usually near the centre or towards the back. Look for a tiny single screw next to it.
Step 6: Install the New SSD
6a. Remove the Old SSD (if replacing)
- Locate the single screw holding the M.2 drive in place.
- Unscrew it (it’s tiny — don’t lose it).
- Gently pull the drive out at a 30° angle — it will slide out of the slot.
- Store the old drive in an anti-static bag if you’re keeping it as backup.
6b. Insert the New SSD
- Hold the new SSD at a 30° angle with the gold connectors facing down.
- Align it with the M.2 slot — there’s usually a notch to ensure correct orientation.
- Gently push the drive down into the slot. It should slide smoothly.
- When fully inserted, screw down the single screw to hold it flat.
- Tighten snugly but not hard.
6c. Close the Laptop
- Reattach the bottom panel and all screws.
Step 7: Clone the Drive (If You Have a Backup Method)
If you’re using the clone approach (recommended), you’ll need to have set up the external enclosure and cloning software first.
Cloning Step-by-Step:
- Set up external enclosure: Buy an M.2 USB enclosure (around £10–15). Install your new SSD inside it. Plug it into your laptop via USB.
- Download cloning software: Macrium Reflect Free is easiest.
- Run Macrium: Launch it, click “Create a Backup” → select “Disk Image” or “Disk Clone.” Choose your internal SSD as source, external SSD as destination.
- Start clone: Click “Next” and review settings. The clone should auto-detect both drives. Click “Proceed” to start.
- Wait: Cloning takes 30 min–2 hours. Don’t use your laptop during this time.
- When done: Shut down completely. Unplug the external enclosure. Open the laptop and swap the internal SSDs (remove old, keep new in place).
- Boot: Power on. Your system should boot normally with all your data intact, but much faster.
Pro tip: Keep your old SSD in the external enclosure as a backup drive — handy for file recovery or moving data between machines.
Step 8: Verify the Installation
After cloning or clean install:
- Boot time: Check how fast Windows now loads. Should be 15–30 seconds from power-on to desktop if coming from an HDD.
- File Explorer: Open a large folder (1,000+ files) — it should load instantly now. On an HDD, this takes seconds or minutes.
- Check capacity in Windows: Right-click “This PC” → Storage settings. Confirm your new SSD size is showing (e.g., “1 TB SSD”).
- Benchmark (optional): Download CrystalDiskInfo and check your SSD’s speed. NVMe should show 3,000+ MB/s read; SATA shows ~550 MB/s.
If You Did a Clean Install:
- Reinstall Windows from a USB drive using the Windows Media Creation Tool (free from Microsoft).
- Reinstall your applications and restore files from your backup.
- This approach is cleaner but takes longer (1–2 hours total including software reinstall).
Dual-SSD Laptops: Adding a Second Drive
Some laptops have two M.2 slots. If yours does, you can add a second SSD without removing the first — doubling your storage instantly.
- Check slots: If you see two M.2 slots on your motherboard, your laptop supports dual SSDs.
- No cloning needed: Simply install the new SSD in the second slot. Windows will auto-detect it on boot.
- Use as storage: Leave your OS on the first drive, use the second for large files (videos, games, backups).
- RAID (advanced): Some laptops support RAID 0 to stripe data across both drives for faster speed, but it’s not necessary and adds complexity.
Adding a second SSD is simpler than replacing the first because you skip the cloning step entirely.
Troubleshooting: SSD Not Detected After Installation
If your laptop won’t boot or the SSD isn’t showing in Windows:
- Reseat the SSD: Power off, open the panel, pull the drive out slightly, reinsert it firmly, and retighten the screw. Often fixes detection issues.
- Check BIOS: Restart and press F2/Del during boot (varies by manufacturer) to enter BIOS. Look for “Storage” or “SATA” — confirm the SSD is listed there. If not, it’s a seating issue.
- Enable XMP/DOCP (unlikely): If you see a “RAID” or “IDE” mode, set it to “AHCI” mode.
- Return the drive: If the BIOS doesn’t detect it after reseating, the SSD is likely defective — contact the seller for replacement.
Common SSD Upgrade Mistakes to Avoid
- Wrong form factor: Buying 2280 when your slot is 2242. They won’t fit. Check the size of your current drive before ordering.
- M.2 SATA vs NVMe confusion: Both are M.2 shaped, but they’re completely different. Check your laptop’s manual to know which you need.
- Forgetting to clone: If you replace your SSD without cloning, you lose everything. Back up first or use an external enclosure.
- Not reseating properly: The most common cause of “SSD not detected.” Push the drive down firmly until you hear a small click.
- Buying a drive bigger than your laptop supports: If your BIOS maxes at 1 TB, a 2 TB drive won’t be fully recognized. Check your manual.
- Cheap no-brand SSDs: They fail without warning and often have poor performance. Stick to Samsung, Kingston, Crucial, or other established brands.
When Should You Upgrade Your SSD?
- You’re still running an HDD (mechanical drive) — the speed difference is night and day.
- Your SSD is nearly full (90%+ capacity) — storage running out slows everything down.
- Your laptop feels sluggish despite having decent RAM — the SSD is likely the culprit.
- You want to breathe new life into a 5–7-year-old laptop.
SSD upgrades won’t help if:
- Your SSD is already modern (2018 or newer) and not full — you’ll see minimal real-world difference.
- Your laptop has a very old CPU that’s the bottleneck (though SSD helps every laptop).
SSD upgrades are often more impactful than RAM upgrades, especially if you’re coming from an HDD.
Pairing Your SSD Upgrade
For maximum performance, pair your SSD upgrade with a RAM upgrade if your laptop is 4+ years old. The combination — more RAM plus faster storage — makes an old laptop feel new again.
For your specific laptop model, check our brand compatibility pages to see if both RAM and SSD upgrades are supported.
Recommended Products
These are the products we recommend based on this guide. All links go to Amazon where you can check current prices and availability.
| Product | Why We Recommend It | Amazon |
|---|---|---|
| Corsair Vengeance DDR4 SO-DIMM 32GB (2×16GB) 3200MHz | Best overall DDR4 upgrade kit | View on Amazon |
| Kingston Fury Impact DDR4 SO-DIMM 32GB (2×16GB) 3200MHz | Reliable alternative with tight latency | View on Amazon |
| Crucial DDR4 SO-DIMM 16GB 3200MHz | Budget single-stick upgrade | View on Amazon |
| Samsung DDR4 SO-DIMM 32GB 3200MHz | OEM-quality for business laptops | View on Amazon |
| WD SN770M 1TB M.2 2230 NVMe | Best 2230 SSD for Dell, Surface, Steam Deck | View on Amazon |
| Sabrent Rocket 2230 1TB | Fast 2230 alternative | View on Amazon |
| Samsung PM991a 1TB 2230 | OEM-grade 2230 at good prices | View on Amazon |
| Samsung 990 Pro 2TB NVMe M.2 2280 | Fastest consumer NVMe — ideal for gaming & editing | View on Amazon |
Prices and availability may vary. As an Amazon Associate, we earn from qualifying purchases.
Related Guides
- Is It Worth Upgrading Old Laptop
- How To Check Laptop Specs
- Dynabook Laptop Upgrades
- Huawei Laptop Upgrades
- Hp Laptop Upgrades
Recommended NVMe SSD Upgrades
As an Amazon Associate we earn from qualifying purchases. Prices & availability shown on Amazon.