
Removing old thermal paste is arguably more important than applying new paste. A single layer of old, dried paste reduces your new paste’s effectiveness by 2–3°C. This guide covers safe removal techniques that won’t damage your CPU or heatsink, and explains why isopropyl alcohol and patience are essential. Once you’ve cleaned the surfaces, follow our thermal paste application guide for optimal results.
| Cleaning Tool | Safety | Effectiveness | Recommended? |
|---|---|---|---|
| Isopropyl Alcohol 90%+ | Very safe, non-damaging | Excellent for old paste | Yes, essential |
| Lint-free cloth (Kimwipes) | Safe, won’t scratch | Excellent with alcohol | Yes, best option |
| Coffee filters | Safe, minimal fibers | Good alternative | Yes, budget option |
| Plastic spudger/credit card | Safe, won’t damage die | Good for stubborn paste | Yes, for thick paste |
| Metal scraper | Very risky, scratches die | Fast but dangerous | No, avoid |
| Paper towels | Leaves fibers behind | Poor, leaves residue | No, use lint-free only |
| Acetone / rubbing alcohol | Can damage components | Too aggressive | No, stick to isopropyl |
Why Proper Paste Removal Matters
The Problem: Layered Paste
Old thermal paste becomes hard and crusty after 3–5 years. If you apply new paste directly over this dried layer:
- Contact pressure: New paste sits on top of old paste, creating a gap.
- Thermal resistance: That gap means heat has to travel through both old (degraded) and new (good) paste layers.
- Temperature impact: You lose 2–3°C of performance versus a completely clean die.
- Longevity: New paste’s lifespan is reduced because the substrate is unstable.
The Solution: Complete Removal
Clean down to bare die and heatsink metal. No residue, no old paste, no thermal pads accidentally left behind. Only then apply fresh paste. This is where 80% of successful repasting happens.
Essential Tools for Paste Removal
Isopropyl Alcohol (IPA) — The Key Ingredient
You need isopropyl alcohol 90% or higher concentration. Lower concentrations have too much water and won’t evaporate quickly.
- Isopropyl Alcohol 99%: Ideal. Evaporates completely within 5 minutes. £5–8 per bottle.
- Isopropyl Alcohol 90–95%: Acceptable. Still works well, just takes slightly longer to evaporate (10 minutes).
- Avoid: Isopropyl below 90%, rubbing alcohol, or acetone. Too much water or too aggressive.
Where to buy: Amazon, pharmacies (often stocked as wound cleaning solution), electronics retailers (Maplin, Scan).
Lint-Free Cloth Options
Best option: Lens cleaning wipes (Kimwipes)
- Specifically designed to leave zero fibers.
- Cost: £3–5 per box of 100 wipes.
- Excellent for CPU die cleaning.
- Buy on Amazon.
Budget option: Coffee filters
- Standard coffee filters are remarkably lint-free.
- Cost: £0.50–1 (you probably have them at home).
- Effective for paste removal, though slightly more fibers than Kimwipes.
Do NOT use: Paper towels, facial tissue, cotton balls. These leave fibers behind.
Optional: Plastic Spudger
For thick, stubborn paste:
- Plastic spudger set: £3–5. Used to gently scrape old paste.
- Old credit card: Free alternative (though less precise).
- Why plastic, not metal: Metal scratches the CPU die, creating microscopic valleys that hurt new paste contact.
Step-by-Step Paste Removal Process
Step 1: Assess the Old Paste
Once the heatsink is off, look at what you’re dealing with:
- Gummy, wet paste: Relatively fresh. Will clean easily.
- Hard, crusty paste: Aged 3+ years. Will take more elbow grease but still removable.
- Paste that looks separated: Old paste with pump-out. Separates into liquid and solid. Clean all of it.
Step 2: Initial Wet Cleaning (CPU Die)
- Dampen (not dripping wet) a Kimwipe with isopropyl alcohol.
- Gently wipe the CPU die in circular motions. Apply light pressure—you’re not scrubbing hard, just wiping.
- Use fresh Kimwipes repeatedly. Once a wipe has paste on it, grab a new wipe. Dirty wipes will just smear paste around.
- Repeat 5–10 times until the die is visibly clean and shiny. You should see bare copper or silicon.
- No visible paste residue = success. Even slight white or dark streaks mean more cleaning is needed.
Step 3: Stubborn Paste Removal (If Needed)
If paste is still thick and crusty after wet cleaning:
- Dampen a Kimwipe extra-heavily with isopropyl (wet but not dripping).
- Let it sit on the crusty paste for 30 seconds. Alcohol softens hardened paste.
- Gently use a plastic spudger to scrape the softened paste. Push the spudger away from you with very light pressure—the goal is to lift paste, not gouge the die.
- Immediately wipe away loosened paste with a fresh Kimwipe.
- Repeat steps until clean. Patience is key. Rushing with hard pressure scratches the die.
Step 4: Final Wet Cleaning
- After all visible paste is gone, do a final 5 wipe-down with alcohol. This removes any remaining microscopic paste residue and any spudger-induced scratches.
- The die should be completely shiny with no discoloration or streaks.
- Allow isopropyl to evaporate completely (5 minutes). Don’t proceed to repasting with a damp die.
Step 5: Clean the Heatsink Base Plate (Equally Important)
Don’t forget the heatsink! Old paste on the heatsink base plate reduces new paste contact.
- Hold the heatsink with the base plate facing up.
- Repeat the same wet-cleaning process. Dampen Kimwipes, wipe the base plate, repeat 5–10 times until shiny.
- The heatsink base should be as clean as the CPU die. No shortcuts here.
- If paste is thick on the heatsink: Use plastic spudger to gently scrape, then wet-clean. Same process as the die.
- Allow heatsink to dry completely. Any moisture interferes with new paste contact.
Common Removal Mistakes to Avoid
Mistake 1: Using Metal Tools
Error: Grabbing a metal scraper or even a stiff metal brush to remove paste faster.
Consequence: Microscopic scratches on the CPU die reduce thermal contact. New paste won’t make full contact. Temps are 2–5°C higher than they should be.
Fix: Use only plastic tools. Patience beats speed.
Mistake 2: Leaving Residual Paste
Error: Stopping cleanup when paste is “mostly” gone. You see a few white streaks or slight discoloration.
Consequence: Old paste under new paste reduces thermal contact by 2–3°C.
Fix: Keep wiping with fresh alcohol-soaked Kimwipes until the die is completely shiny and colorless. No compromises.
Mistake 3: Not Cleaning the Heatsink
Error: Carefully cleaning the CPU die, then mounting a heatsink that still has old crusty paste on its base plate.
Consequence: New paste on a clean die meets old crusty paste on heatsink. Contact is poor. Thermals suffer.
Fix: Clean both the die AND the heatsink base plate with equal care.
Mistake 4: Using Paper Towels
Error: Grabbing paper towels to speed up the process.
Consequence: Paper towels shed fibers. These tiny fibers get stuck to the wet isopropyl-covered die and remain after the alcohol dries. Microfibers reduce contact.
Fix: Use Kimwipes or coffee filters only. One-time expense (£3–5) for lint-free wipes saves £300 if you have to redo a poor repaste.
Mistake 5: Proceeding with Wet Die
Error: You finish cleaning, notice the die is still damp with isopropyl, and immediately apply new paste “because the moisture will evaporate.”
Consequence: Moisture interferes with paste contact. New paste doesn’t adhere properly. Thermals are suboptimal (1–3°C higher). Paste lifespan is reduced.
Once you’ve mastered paste removal, check out our guides on the best thermal pastes available and what tools and supplies you’ll need.
Fix: Always wait 5 minutes for isopropyl to evaporate completely after final cleaning. This is non-negotiable.
Mistake 6: Scraping the Wrong Direction
Error: When using a plastic spudger, you push hard toward yourself instead of gently pushing away.
Consequence: Leverage is wrong. You end up pressing hard and scratching the die.
Fix: Always push the spudger away from you with very light pressure. The goal is to lift paste, not scrape.
Special Situations: Thermal Pads Near CPU
Don’t Touch Thermal Pads
Your laptop may have thermal pads (silicone squares) on RAM, VRM, or other components near the CPU. Leave these alone.
- Thermal pads provide cooling for non-CPU components. Removing them hurts performance.
- Only repaste the CPU and GPU. Touch nothing else.
- If a thermal pad is damaged or crumbly: Consider replacing it, but this is beyond the scope of basic repasting.
How to Know When You’re Done Cleaning
Success criteria:
- CPU die is shiny and smooth, with no visible paste, streaks, or discoloration.
- Heatsink base plate is equally clean and shiny.
- Die and heatsink are both completely dry (5+ minutes after final alcohol application).
- No visible fibers or dust on either surface.
If you meet all criteria, you’re ready to apply new thermal paste. You won’t regret taking the time to clean properly.
Frequently Asked Questions
Can I use degreaser or acetone instead of isopropyl alcohol?
No. Acetone is too aggressive and can damage electronic components. Degreaser leaves residue. Stick with isopropyl 90%+. It’s the only safe choice for laptop motherboards.
How long does isopropyl take to evaporate?
Isopropyl 99%: 3–5 minutes completely dry. Isopropyl 90%: 5–10 minutes (higher water content). Always wait at least 5 minutes before applying new paste. When in doubt, wait 10 minutes.
Can I reuse isopropyl alcohol I’ve already opened?
Yes, but it degrades over time as water is absorbed from the air. Unopened bottles last years. Once opened, use within 6 months for best results. If old isopropyl looks cloudy or discolored, buy fresh.
Is it okay to leave the CPU die uncovered while cleaning?
Yes, it’s exposed and being cleaned. Just avoid touching it with bare fingers after cleaning (skin oils interfere with contact). Use a Kimwipe to inspect, never bare skin.
What if the old paste is mixed with heatsink grease or oil?
Isopropyl alcohol dissolves thermal paste and oils. Just use extra Kimwipes and more alcohol. The process takes longer but works. Never use solvents beyond isopropyl.
Can I clean the heatsink in a dishwasher?
No. Dishwasher water can cause corrosion on aluminum heatsinks. Stick to manual cleaning with isopropyl alcohol and a cloth. Much safer.
Is it normal for isopropyl to leave a slight white residue?
Yes, if your isopropyl is lower than 99% (has more water), it may leave a very slight white film. This is water residue. Wait extra time and wipe again with fresh, very lightly dampened Kimwipes (not soaking wet). It will clear.
Recommended Products
These are the products we recommend based on this guide. All links go to Amazon where you can check current prices and availability.
| Product | Why We Recommend It | Amazon |
|---|---|---|
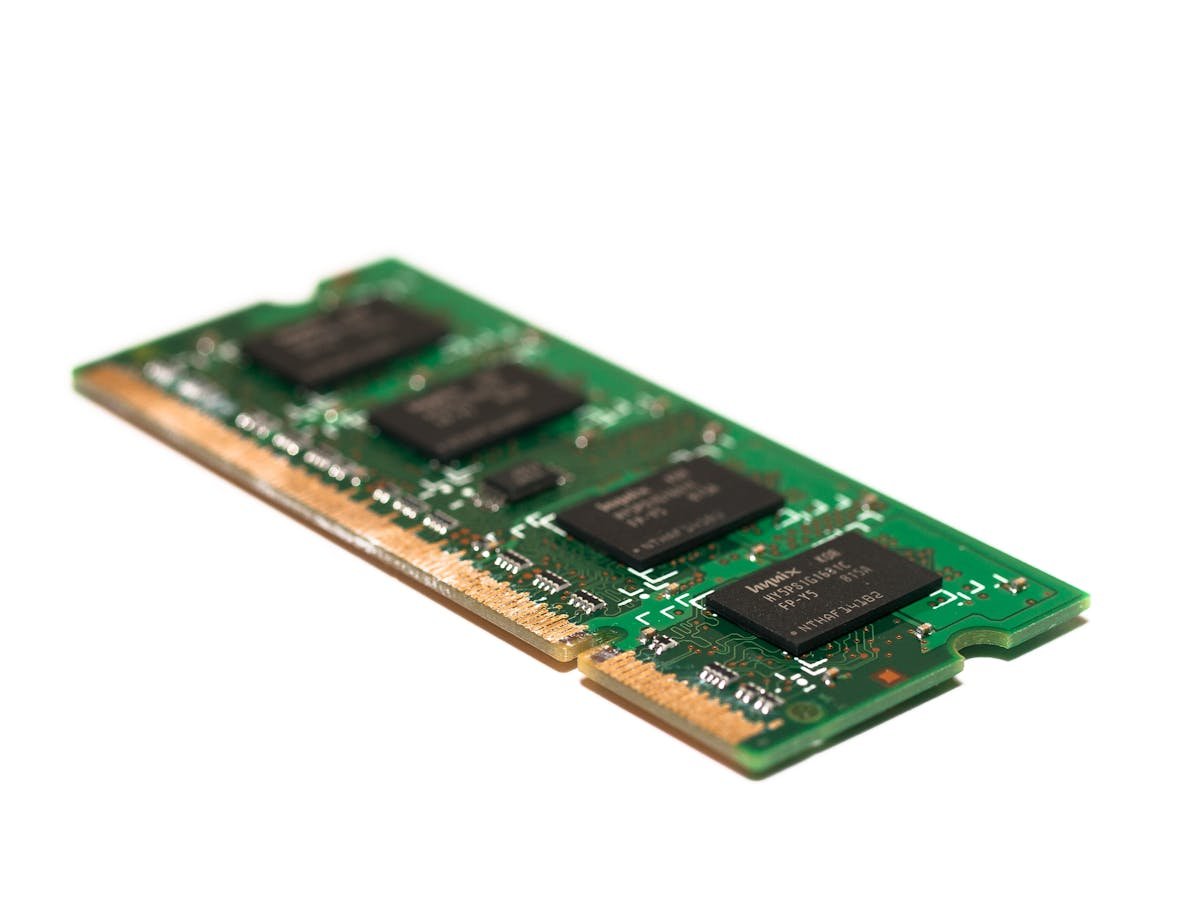
| Corsair Vengeance DDR4 SO-DIMM 32GB (2×16GB) 3200MHz | Best overall DDR4 upgrade kit | View on Amazon |
| Kingston Fury Impact DDR4 SO-DIMM 32GB (2×16GB) 3200MHz | Reliable alternative with tight latency | View on Amazon |
| Crucial DDR4 SO-DIMM 16GB 3200MHz | Budget single-stick upgrade | View on Amazon |
| Samsung DDR4 SO-DIMM 32GB 3200MHz | OEM-quality for business laptops | View on Amazon |
| Thermal Grizzly Kryonaut | Best thermal paste for laptop repasting | View on Amazon |
| Noctua NT-H1 | Easy-to-apply, excellent for beginners | View on Amazon |
| Arctic MX-6 | Budget thermal paste with good performance | View on Amazon |
| IETS GT500 Laptop Cooling Pad | Powerful external cooling for gaming laptops | View on Amazon |
Prices and availability may vary. As an Amazon Associate, we earn from qualifying purchases.
Related Guides
- Laptop Fan Cleaning Thermal Performance
- Arctic Mx 6 Vs Mx 4 Laptop
- Dynabook Laptop Upgrades
- Huawei Laptop Upgrades
- Hp Laptop Upgrades
Recommended Laptop Upgrades (RAM & SSD)
As an Amazon Associate we earn from qualifying purchases. Prices & availability shown on Amazon.
How we verify this guide
We cross-reference compatibility figures against manufacturer specifications where available, official service manuals, and the standards that govern fit — memory type and speed (DDR4 / DDR5 / LPDDR5), maximum supported capacity and slot count, SSD form factor and interface (M.2 2280, NVMe PCIe vs SATA, keying), and charger wattage and connector (USB-C Power Delivery, GaN). We’re explicit about soldered or non-upgradeable parts, prioritise primary sources over retailer listings, and re-verify the data on a regular cycle. More on our method →