Affiliate disclosure: this page contains affiliate links — if you buy through them we may earn a commission at no extra cost to you. As an Amazon Associate we earn from qualifying purchases.
Microsoft’s Surface Laptop 5 and Surface Laptop 6 are beautifully designed ultrabooks — but their SSDs are notoriously difficult to upgrade. Unlike most laptops, the SSD access panel isn’t marked or obvious. This guide reveals the hidden SSD door and walks you through the upgrade process. Fair warning: Surface Laptop is the most annoying laptop to upgrade on the market, but it is possible.
The Surface Laptop uses a proprietary SSD interface and a hidden access mechanism. You’ll need patience, a SIM tool (or a specialized plastic card), and a steady hand. The upside: once you get in, the SSD itself is straightforward to replace.
What You’ll Need
This upgrade is trickier than most. Gather these items carefully.
| Item | Purpose | Where to Buy |
|---|---|---|
| SIM Ejector Tool or Plastic Card | Locate and gently pry open the hidden SSD access panel on the underside | Amazon or use a SIM tool from your phone |
| Anti-Static Wristband | Prevent static discharge damaging the tiny 2230 SSD | Amazon |
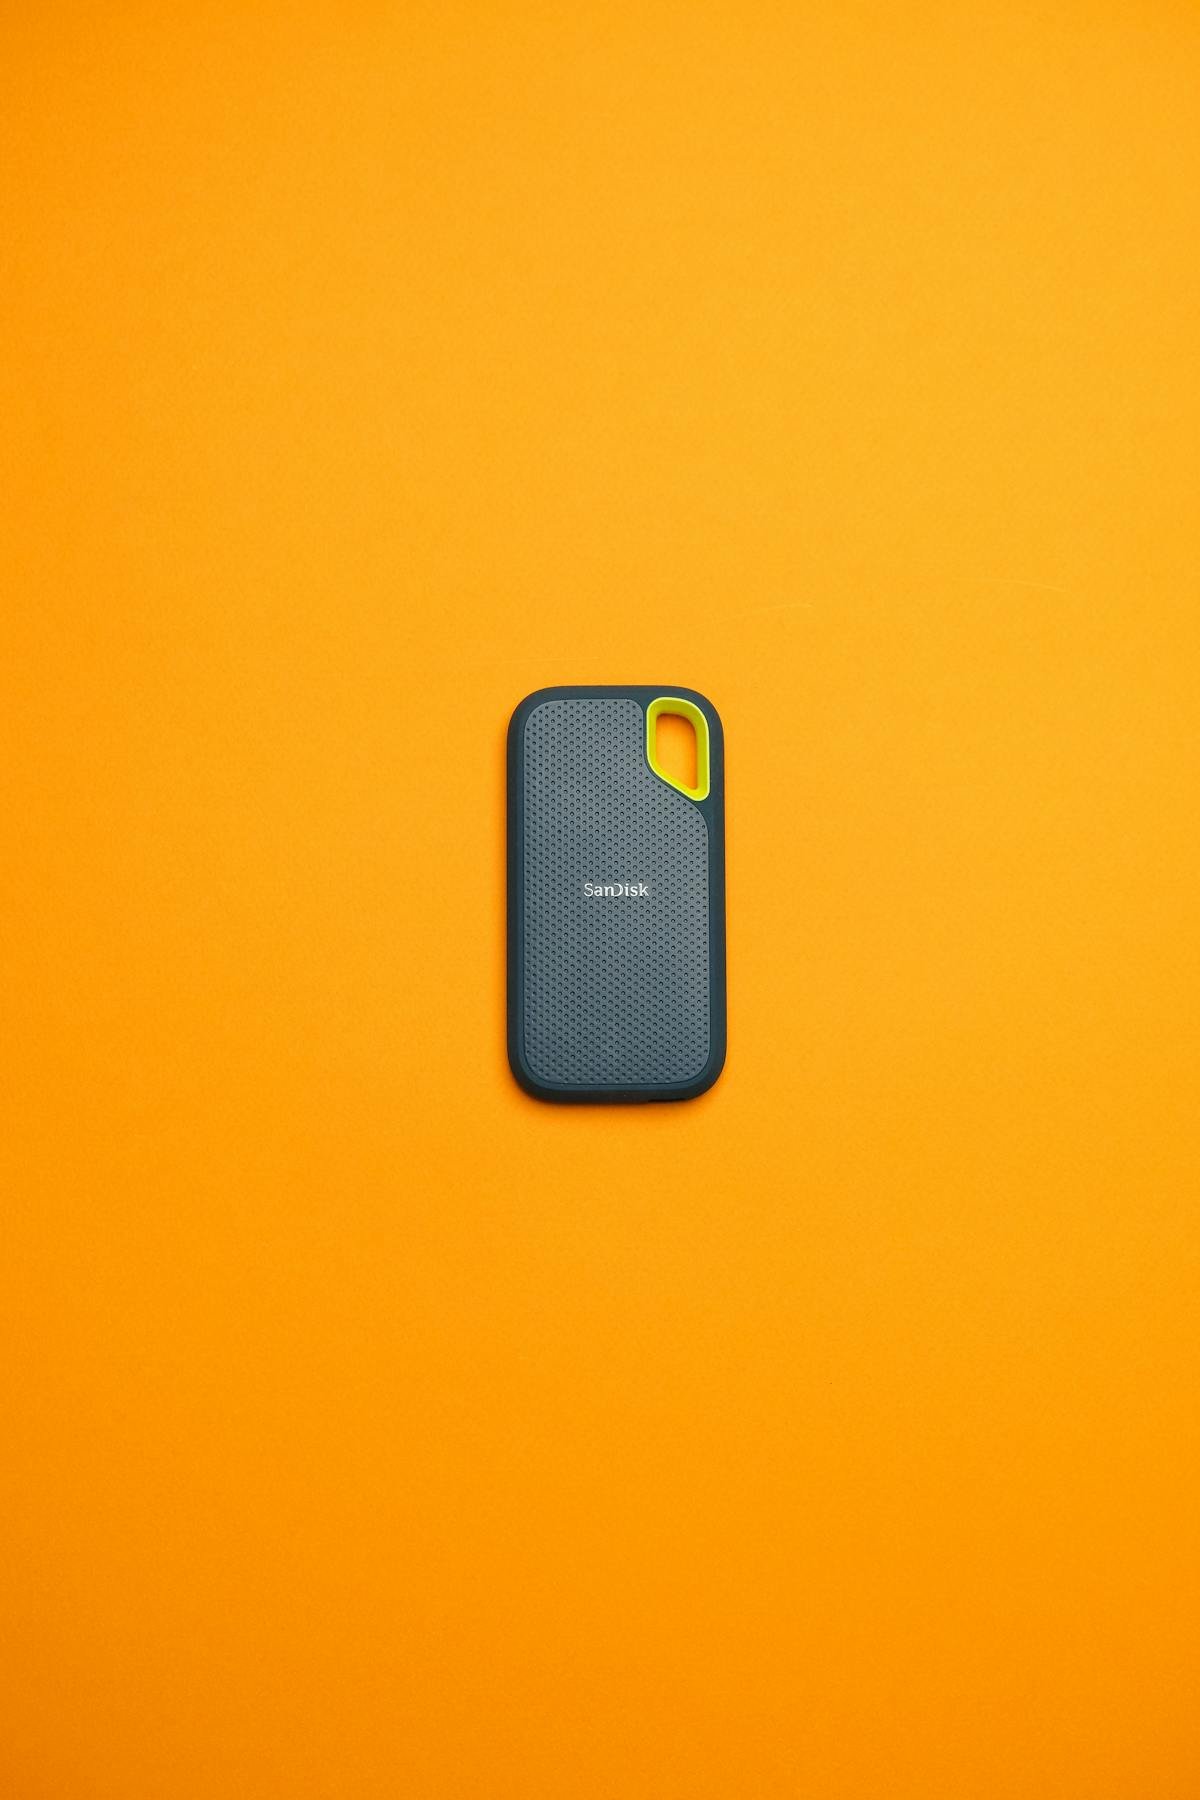
| M.2 2230 NVMe SSD (512GB or 1TB) | Replacement SSD (same tiny form factor as Framework — note the 2230 size, not 2280) | Amazon |
| Thermal Pad (optional) | Thermal interface for the new SSD if it doesn’t come with one pre-applied | Amazon |
| Spudger or Plastic Card | Gently pry open the SSD compartment door without scratching the chassis | Amazon |
Before You Start
Back up all data to cloud storage or an external drive. You’re replacing the drive where Windows and your files live.
Power off completely and unplug. Surface Laptops are thin and tightly packed — let the system cool for 5 minutes before opening.
Discharge static electricity by wearing your anti-static wristband grounded to the chassis. The 2230 SSD is tiny and more sensitive to static than larger drives.
Be patient and gentle. The hidden SSD access panel is the trickiest part. Don’t force anything — if the panel doesn’t pop open easily, you’re probably prying in the wrong spot.
Step-by-Step Guide
Step 1: Locate the Hidden SSD Access Panel
Flip the Surface Laptop upside down. Look at the underside carefully. Unlike other laptops, the SSD access panel is not labeled or obviously marked. This is Microsoft’s design flaw.
The SSD panel is a thin rectangular door on the underside of the chassis, typically located near the left or right corner (exact location varies by model — check your manual). It’s nearly flush with the surrounding aluminium, so it blends in. You’re looking for a seam that’s slightly different from the rest of the surface.
Look for a tiny hairline seam about the size of a credit card. This is your target. If you can’t find it visually, feel the underside with your fingernail — the SSD panel will have a slightly raised edge or seam where you can insert a tool.
Step 2: Use the SIM Tool to Locate the Eject Hole
Once you’ve identified the seam, look for a tiny circular hole (about 1mm in diameter) near one edge of the panel. This is the eject hole. Take your SIM ejector tool (or a thin plastic card like a gift card) and gently press it into the hole. You should feel slight resistance — this is the spring mechanism that holds the panel in place.
With steady, gentle pressure, push the tool into the hole until you feel the panel release. Do not force it — this isn’t a screw. If you feel too much resistance, you’re either in the wrong hole or pushing too hard. Back off and try again.
Step 3: Pry Open the SSD Door
Once you’ve triggered the eject mechanism (using the SIM tool), the panel should be free to open. Take your plastic spudger or card and gently insert it into the seam around the panel’s edge. Work your way around the perimeter, applying steady gentle pressure until the entire panel lifts free.
Be careful not to scratch the aluminium chassis — Surface Laptops have a premium finish that marks easily. Use slow, deliberate pressure rather than quick prying motions.
Once the panel is free, set it aside on a clean surface. Don’t lose it — you’ll need to reinstall it.
Step 4: Locate and Remove the SSD
With the access panel open, you’ll see a tiny M.2 2230 SSD (the same compact form factor as Framework Laptops). The SSD is held in a simple socket — no screws, no clips, just inserted at a slight angle.
Gently pull the SSD straight out of the socket. If it doesn’t come free easily, check if there’s a retention clip or screw (unusual for Surface, but possible depending on model). Once removed, set the old drive aside.
Step 5: Prepare the New SSD
Before inserting the new SSD, check if it has a thermal pad pre-applied. Most 2230 SSDs don’t include thermal pads because the form factor is so small. If your new drive doesn’t have one and you’re concerned about heat, apply a thin thermal pad to the top of the drive (though Surface Laptop cooling is minimal — this is optional).
Critical note: Surface Laptop uses M.2 2230 SSDs, not the standard 2280. This is a tiny form factor — make sure you buy a 2230-compatible drive. A 2280 drive will not fit.
Step 6: Install the New SSD
Hold your new M.2 2230 SSD at a slight angle (matching the angle of the socket) and carefully insert it into the socket. Push down gently until it’s fully seated. The SSD should sit flush with the socket — there’s no retention screw or clip.
Once seated, the SSD is held in place by the socket itself. It won’t fall out once inserted.
Step 7: Reinstall the Access Panel
This is where the hidden design becomes annoying. You’ll need to carefully position the access panel back over the socket and press it down until the spring mechanism clicks it into place. The eject hole should align, and the panel should sit flush with the chassis.
If the panel doesn’t close smoothly, check that the SSD isn’t blocking it. The SSD should be fully seated in the socket, not protruding.
Once the panel is closed, you’re done. There’s no screw or visible fastening — it’s purely a spring-loaded door.
Verifying the Upgrade
Power on the Surface Laptop. Windows should boot normally. Verify the new SSD:
SSD Detection: Open File Explorer and look at “This PC”. Your new SSD should appear with its full capacity listed. If it shows “Unknown” or doesn’t appear, the drive may not be fully seated. Power off, remove the access panel, and reseat the SSD.
Storage Settings: Open Settings → System → Storage and confirm your new SSD capacity is listed.
Speed Check: Open Task Manager (Ctrl+Shift+Esc), go to the Performance tab, and click Storage. Your new SSD should show respectable read speeds (1,000–3,000 MB/s for 2230 NVMe drives).
Troubleshooting
Can’t find the SSD access panel — Check your Surface Laptop manual for the exact location. The panel location varies slightly by model. Look for a seam on the underside that’s slightly different from the surrounding surface. If still stuck, look along the edges of the chassis near the corners.
Can’t trigger the eject mechanism — Make sure you’re pressing into the eject hole (not near it). It’s a small hole, maybe 1mm in diameter. Push straight in with steady pressure — you should feel it release. If nothing happens, you may be in the wrong location. Try other potential eject holes around the panel perimeter.
Panel won’t close — The SSD may not be fully seated. Power off, remove the panel, and push the SSD down more firmly. It should sit flush with the socket, not protruding.
SSD not detected after installation — Power off and reseat the drive. Ensure it’s fully inserted into the socket at the correct angle. If it’s still not detected, the drive may be defective — try with the old drive to confirm the socket still works.
Laptop won’t boot — If the new SSD is your primary drive (where Windows was installed), it’s blank. You’ll need to install Windows fresh using a Windows installation USB, or clone your old Windows installation to the new SSD beforehand.
Recommended Upgrades
For Surface Laptop, you’re limited to M.2 2230 SSDs — a much smaller market than standard 2280 drives. Options are limited, but some good choices exist:
Best Option: Samsung PM991B (512GB or 1TB) — The most reliable 2230 NVMe SSD available. Fast, supported by Surface Laptop, good warranty. £50–80.
Alternative: Kioxia BG5 (512GB or 1TB) — Another 2230 option, slightly cheaper. Good performance for the form factor. £40–70.
Upgrade to at least 512GB. 256GB (if that’s what shipped with your model) is painfully tight for Windows + modern apps. 1TB is ideal if you keep documents and media locally.
FAQ
Why did Microsoft make the SSD door so hard to find?
Probably unintentional design. Microsoft prioritised aesthetics (seamless aluminium chassis) over user-friendliness. The result is a beautiful laptop that’s frustrating to upgrade. Newer Surface models may have addressed this — check your manual.
Is there a specific type of SIM tool that works best?
Any thin, flat tool works — SIM ejector, plastic card, or even a thin butter knife (carefully). The goal is to press into the eject hole with steady pressure, not to pry. A SIM tool is ideal because it’s the right size and shape.
Can I use a standard 2280 SSD in a Surface Laptop?
No. Surface Laptop uses the compact M.2 2230 form factor. A standard 2280 drive is physically longer and will not fit in the socket or behind the access panel. Buy only 2230-sized drives.
Will upgrading the SSD void my warranty?
Possibly. Microsoft doesn’t officially support user SSD upgrades on Surface Laptop. While you technically can upgrade it, doing so may void your warranty. Check your warranty terms before opening the access panel. If your device is under warranty and you need to upgrade, contact Microsoft support first.
What’s the difference between M.2 2230 and M.2 2280?
Length. 2230 is 22mm × 30mm (compact). 2280 is 22mm × 80mm (standard). Both are the same width but 2280 is nearly 3x longer. Surface Laptop’s thin design requires the compact 2230 form factor — a 2280 drive simply won’t fit.
Can I keep both the old and new SSD?
No. Surface Laptop has only one internal M.2 slot. You must choose: keep the old drive (removed) or use only the new drive. If you want external storage, use a USB-C M.2 enclosure with your old drive.
Recommended Products
These are the products we recommend based on this guide. All links go to Amazon where you can check current prices and availability.
| Product | Why We Recommend It | Amazon |
|---|---|---|
| Corsair Vengeance DDR4 SO-DIMM 32GB (2×16GB) 3200MHz | Best overall DDR4 upgrade kit | View on Amazon |
| Kingston Fury Impact DDR4 SO-DIMM 32GB (2×16GB) 3200MHz | Reliable alternative with tight latency | View on Amazon |
| Crucial DDR4 SO-DIMM 16GB 3200MHz | Budget single-stick upgrade | View on Amazon |
| Samsung DDR4 SO-DIMM 32GB 3200MHz | OEM-quality for business laptops | View on Amazon |
| WD SN770M 1TB M.2 2230 NVMe | Best 2230 SSD for Dell, Surface, Steam Deck | View on Amazon |
| Sabrent Rocket 2230 1TB | Fast 2230 alternative | View on Amazon |
| Samsung PM991a 1TB 2230 | OEM-grade 2230 at good prices | View on Amazon |
| Samsung 990 Pro 2TB NVMe M.2 2280 | Fastest consumer NVMe — ideal for gaming & editing | View on Amazon |
Prices and availability may vary. As an Amazon Associate, we earn from qualifying purchases.
Related Microsoft Upgrade Guides
- Best RAM for MSI Gaming Laptops 2026
- Framework Laptop 13 (Intel Core Ultra) RAM & SSD Upgrade Guide
- Framework Laptop 13 (AMD 7040) RAM & SSD Upgrade Guide
- Framework Laptop 16 (AMD) RAM & SSD Upgrade Guide
- Microsoft Surface Laptop Studio 2
- Microsoft Upgrade Guide
Not sure what fits? Use our free Compatibility Checker covering 3,195+ models.
Helpful Guides
Recommended upgrades
As an Amazon Associate we earn from qualifying purchases. Prices & availability shown on Amazon.
M.2 2280 NVMe SSDs
How we verify this guide
We cross-reference compatibility figures against manufacturer specifications where available, official service manuals, and the standards that govern fit — memory type and speed (DDR4 / DDR5 / LPDDR5), maximum supported capacity and slot count, SSD form factor and interface (M.2 2280, NVMe PCIe vs SATA, keying), and charger wattage and connector (USB-C Power Delivery, GaN). We’re explicit about soldered or non-upgradeable parts, prioritise primary sources over retailer listings, and re-verify the data on a regular cycle. More on our method →