Affiliate disclosure: this page contains affiliate links — if you buy through them we may earn a commission at no extra cost to you. As an Amazon Associate we earn from qualifying purchases.
How to Enable XMP/EXPO in BIOS: Get Full RAM Speed (2026)
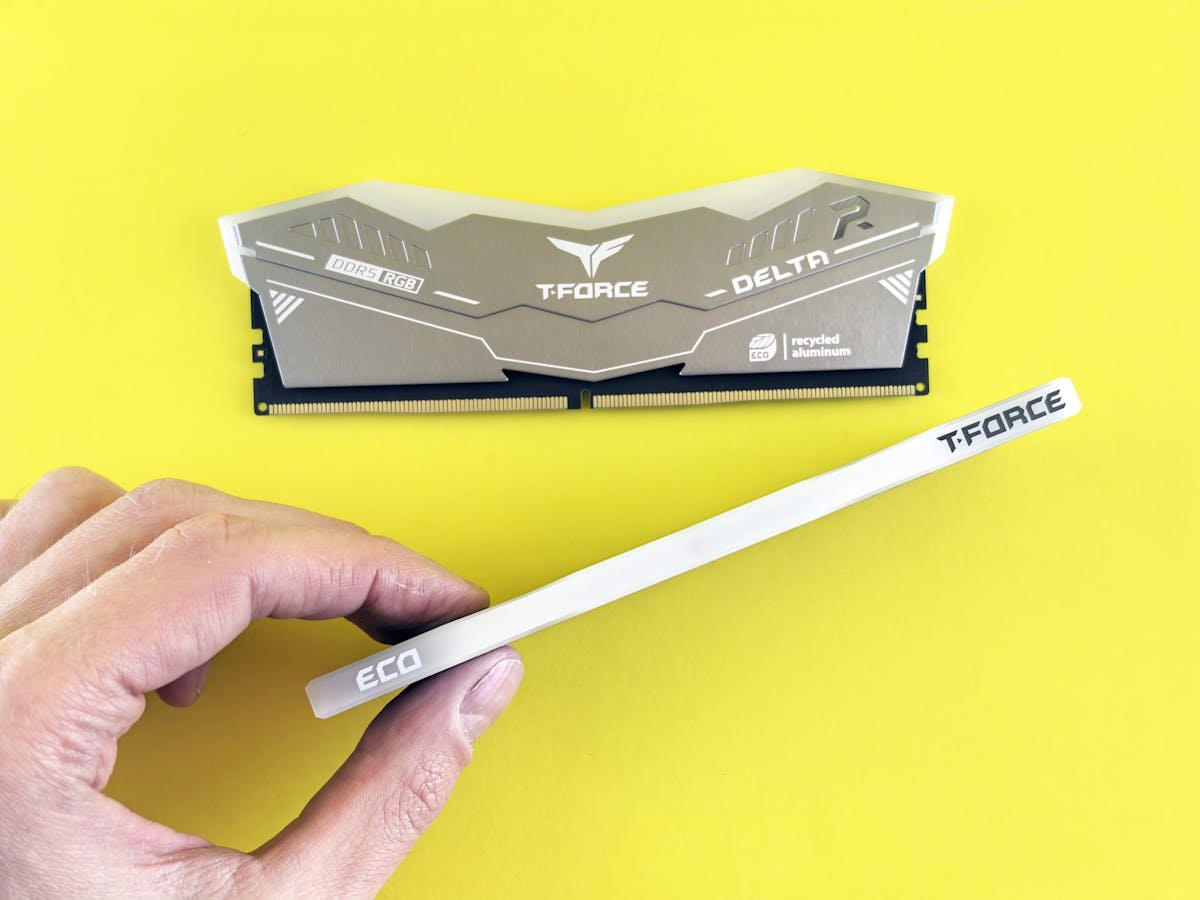
One of the quickest, most impactful performance upgrades you can make to your PC is enabling XMP (Intel) or EXPO (AMD) profiles in BIOS. Yet many users never discover that their expensive high-speed RAM is running far below its rated potential — often at JEDEC standard speeds of 3200 MHz or even slower, regardless of whether you’ve purchased 6000 MHz or 7200 MHz modules.
In this guide, we’ll walk through exactly how to check your current RAM speed, safely enable XMP or EXPO, troubleshoot common issues, and verify everything is running correctly. Whether you’re building your first PC or upgrading a year-old system, following these steps will unlock the full performance of your investment.
What is XMP/EXPO and Why Isn’t Your RAM Running at Full Speed?
When RAM leaves the factory with a speed rating (e.g. 6000 MHz), that’s the maximum speed it can achieve — but only if your motherboard and BIOS are configured to enable it. Out of the box, all RAM defaults to JEDEC standard speeds, which are much slower and guaranteed to work on any system.
Here’s why:
- Stability first: JEDEC profiles are conservative, officially sanctioned by memory manufacturers and guaranteed to work on any platform. High-speed profiles (5600 MHz, 6000 MHz, 7200 MHz) require additional voltage and timing tuning.
- Motherboard support: Not all motherboards are designed equally. Premium boards (especially high-end Z790, Z870, X870 variants) have better power delivery and testing for fast profiles.
- CPU silicon lottery: Even with the same motherboard, some CPUs handle high RAM speeds better than others due to manufacturing variations.
This is where XMP (Extreme Memory Profile) for Intel and EXPO (Extended Profiles for Overclocking) for AMD come in. These are pre-configured profiles burned into your RAM’s SPD (Serial Presence Detect) chip. When you enable XMP or EXPO, your BIOS reads these profiles and applies the correct voltage, timings, and frequency automatically.
How to Check Your Current RAM Speed
Before making any BIOS changes, let’s check what speed your RAM is actually running at right now.
Method 1: Task Manager (Windows, quickest)
- Right-click the Windows taskbar and select Task Manager.
- Click the Performance tab.
- Select Memory from the left sidebar.
- Look for the line that says Speed: — this is your current RAM speed (e.g. “3200 MHz”).
This is the actual speed your system is using right now. If your RAM is rated for 6000 MHz but showing 3200 MHz, XMP/EXPO is not enabled.
Method 2: CPU-Z (More detailed view)
- Download CPU-Z from cpuid.com (free).
- Run the application (no installation required).
- Go to the Memory tab.
- Look at the Frequency row — this shows your current RAM speed.
- Note the Timings row (e.g. “19-24-24-48”) — these will change when XMP/EXPO is enabled.
CPU-Z also shows you the FSB (Front Side Bus) and other technical details. The frequency shown × 2 = your effective RAM speed (DDR = Dual Data Rate).
How to Enable XMP on Intel Systems (LGA 1700, 13th/14th Gen Core)
Intel’s XMP profiles are standard on Z790, Z790-E, Z880, and newer chipsets. Here’s the step-by-step process.
Step 1: Restart and Enter BIOS
- Shut down your PC completely.
- Turn it back on and immediately start pressing Delete, F2, or F12 (varies by motherboard maker).
- You should see a BIOS splash screen with the motherboard manufacturer logo (ASUS, MSI, Gigabyte, etc.).
- Once in BIOS, look for a menu item called OC Settings, Performance, or Advanced.
Common BIOS entry keys by manufacturer:
- ASUS: Delete or F2
- MSI: Delete
- Gigabyte: Delete or F2
- ASRock: Delete or F2
Step 2: Locate XMP Settings
Once in BIOS, navigate to the performance or overclocking section. The exact location varies:
- ASUS boards: OC Tweaker or Advanced → look for “XMP” or “Extreme Memory Profile”
- MSI boards: Overclocking → CPU Features or OC Settings
- Gigabyte boards: Settings → OC or Performance
- ASRock boards: OC Tweaker
If you’re using BIOS with a graphical interface (common on newer boards), you may see an “XMP” button or toggle on the main screen. If your BIOS is text-based and harder to navigate, use the arrow keys to move between menus.
Step 3: Enable XMP Profile 1
- Find the XMP setting (sometimes labeled “Load Optimized Defaults” or “XMP1”).
- Press Enter or click to open the dropdown menu.
- Select Profile 1 (or sometimes just “Enabled” or “XMP”).
- The BIOS should now display your RAM’s rated frequency, timings, and voltage (e.g. 6000 MHz, 19-24-24-48, 1.40V).
Some boards show two profiles: XMP 1 and XMP 2. Unless your RAM documentation specifies otherwise, choose Profile 1 — it’s the most stable.
Step 4: Save and Exit
- Press F10 or navigate to Save & Exit.
- When prompted, confirm you want to save changes.
- Your PC will restart.
The first boot after enabling XMP may take slightly longer than usual — this is normal as the system is initialising the new memory settings.
How to Enable EXPO on AMD Systems (Ryzen 7000, 9000 Series)
AMD’s EXPO (Extended Profiles for Overclocking) is the equivalent to Intel’s XMP, designed for Ryzen 7000 (Zen 4) and newer CPUs paired with X870-E, X870, B850, or X770 motherboards. The process is similar but the menu names differ.
Step 1: Enter BIOS
- Restart your PC.
- Press Delete (most AMD boards) or F2 immediately after power-on.
- Wait for the BIOS interface to load.
Step 2: Locate EXPO Settings
The location of EXPO varies by motherboard manufacturer:
- ASUS (ROG): Tweakerss or Advanced → look for “Extreme Tweaker” or “EXPO”
- MSI: OC or Overclocking Settings → AMD Overclocking
- Gigabyte: OC Settings → AMD Overclocking or EXPO
- ASRock (Phantom): OC Tweaker → OC Settings
Some newer AMD boards have EXPO as a dedicated toggle on the main BIOS screen, making it even quicker to enable.
Step 3: Select and Enable EXPO Profile
- Find the EXPO option.
- Change the setting from “Disabled” or “Default” to Profile 1.
- The BIOS will display your RAM’s rated specifications (e.g. 6000 MHz, 30-38-38-96, 1.40V for DDR5).
- You may see a second option for Profile 2 — unless your RAM manual specifies Profile 2, stick with Profile 1.
Step 4: Optional — DOCP (ASRock Alternative)
Some ASRock boards use DOCP (Direct Overclocking Profile) instead of EXPO. The process is identical:
- Find DOCP in OC Tweaker.
- Change to Profile 1.
- Save and exit.
Step 5: Save and Reboot
- Press F10 or select Save Changes & Exit.
- Confirm to save.
- Your system will reboot with EXPO enabled.
Like Intel systems, the first boot may take a moment longer as AMD’s BIOS validates the EXPO profile. If you see automatic recovery or BIOS error screens, allow 1–2 automatic reboots before panicking — the system is self-healing.
Verify XMP/EXPO Was Successfully Enabled
After your system reboots, confirm that XMP/EXPO actually took effect:
- Open Task Manager → Performance → Memory, or CPU-Z → Memory tab.
- Check the Speed field — it should now match your RAM’s rated speed (e.g. 6000 MHz, not 3200 MHz).
- Run a simple stability test: open your web browser, stream a video, or run a game for 10–15 minutes. If everything runs smoothly without crashes or freezing, XMP/EXPO is stable on your system.
If the speed hasn’t changed, return to BIOS and confirm the setting was actually saved. Sometimes the BIOS doesn’t apply changes if you exit without saving properly.
Troubleshooting: XMP/EXPO Won’t Enable or Causes Instability
Problem 1: System Won’t Boot After Enabling XMP/EXPO
Solution:
- Most modern BIOS versions automatically revert to JEDEC speeds if the XMP/EXPO profile fails stability checks. Wait through the reboot cycle (usually 2–3 automatic restarts).
- If the system remains stuck in a boot loop, force a shutdown by holding the power button for 10 seconds.
- Power back on and immediately enter BIOS. Return to the XMP/EXPO setting and select “Disabled” to restore JEDEC speeds.
- Save and reboot normally.
- Your system should start fine. The XMP/EXPO profile you selected may not be stable on your particular hardware combination (CPU + motherboard + RAM).
Problem 2: XMP/EXPO Causes Random Crashes or Freezing
Diagnosis: Instability usually appears within the first 30 minutes of use (gaming, video editing, stress testing).
Solution (in order of severity):
- Clear CMOS and retry: Power off, remove the CMOS battery on your motherboard for 5–10 seconds, reinsert it, and reboot. Re-enter BIOS and try enabling XMP/EXPO again — sometimes a fresh BIOS load resolves timing issues.
- Try EXPO Profile 2 (if available): If your RAM has a second EXPO or XMP profile, select it instead. Some users find Profile 2 more stable on their hardware.
- Increase RAM voltage slightly: This is an advanced step. In BIOS, find the memory voltage setting (usually labelled VDIMM or VMEM) and increase it by 0.02–0.05V above the profile’s default. For example, if EXPO sets 1.40V, try 1.42–1.45V. Do not exceed 1.6V for DDR5. Save and test stability again.
- Contact motherboard support: If crashes persist, your motherboard may have a BIOS bug with your particular RAM. Check the motherboard manufacturer’s website for BIOS updates. A newer BIOS version often fixes XMP/EXPO compatibility issues.
Problem 3: XMP/EXPO Option Doesn’t Appear in BIOS
Possible causes:
- Your motherboard doesn’t support XMP/EXPO: Entry-level and budget boards (H870, H750, etc.) sometimes lack these features. Check your motherboard manual.
- Your RAM doesn’t have an XMP/EXPO profile: Older RAM, budget RAM, or non-gaming RAM may not include these profiles. If you’re using generic DDR4 or DDR5 sticks without a brand name, XMP/EXPO won’t be available.
- BIOS firmware is outdated: Update your BIOS to the latest version. Many older BIOS versions don’t recognise EXPO profiles in newer DDR5 RAM.
Problem 4: XMP/EXPO Disabled Itself After a Power Outage or Windows Update
Occasional power interruptions or Windows updates can reset BIOS settings to defaults. If this happens:
- Re-enter BIOS and re-enable XMP/EXPO.
- In Windows, check for BIOS updates from your motherboard manufacturer.
- If power outages are frequent in your area, consider a UPS (uninterruptible power supply).
DDR4 vs DDR5: XMP/EXPO Behaviour Differences
DDR4 XMP (Intel 12th Gen, Ryzen 5000/5600)
- Typical speeds: 3600 MHz – 5000 MHz
- Typical timings: 16-20-20-40 (tighter = better)
- Voltage: 1.35V–1.40V
- Stability: Generally very stable; DDR4 XMP rarely causes issues even on budget boards
DDR5 XMP 3.0 / EXPO (Intel 13th+ Gen, Ryzen 7000+)
- Typical speeds: 5600 MHz – 8000 MHz+
- Typical timings: 28-38-38-96 (looser than DDR4 due to higher speeds)
- Voltage: 1.40V–1.50V
- Stability: Modern boards handle these well, but occasionally requires a BIOS update to recognise newer DDR5 XMP profiles
Recommended RAM with XMP/EXPO Support
If you’re shopping for new RAM and want to ensure full XMP/EXPO compatibility, here are solid options available on Amazon:
Excellent mid-range DDR5 option with stable XMP profiles. Good performance-to-price ratio for gaming and productivity. Available in 16GB and 32GB kits. Widely compatible with Z790 and X870 boards.
Premium choice with aggressive RGB lighting and tight timings. Corsair’s XMP profiles are legendary for stability. Excellent for high-end gaming builds and content creation rigs. Available up to 64GB.
Balanced option from a trusted memory manufacturer. Excellent value, particularly for Ryzen systems. XMP profiles are conservative and rarely cause issues. Good for workstations and office PCs.
High-performance DDR5 built specifically for AMD Ryzen 7000 series. Optimised EXPO profiles with excellent stability. Popular choice among Ryzen enthusiasts. Available with or without RGB.
Performance Impact: Does XMP/EXPO Actually Matter?
How much performance do you actually gain by enabling XMP/EXPO? The answer depends on your workload:
Gaming: 5–15 FPS improvement on average, more in CPU-limited scenarios (high refresh rate, 1080p). Noticeable on high-end systems with fast GPUs.
Content creation (video editing, 3D rendering): 10–20% faster export times in software like Premiere Pro or Blender.
Productivity (spreadsheets, web browsing): Negligible difference. If you’re browsing Reddit and opening Excel, XMP won’t feel different.
Multitasking: 5–10% improvement when juggling many applications and browser tabs simultaneously.
In summary: XMP/EXPO is worth enabling if you paid for premium RAM. Even if the performance gain is “only” 5–10%, you’re not leaving free performance on the table, and it costs nothing to enable.
FAQ: Common XMP/EXPO Questions
A: Yes, it’s completely safe. XMP/EXPO profiles are created by the RAM manufacturer and certified to work within safe voltage and temperature limits. Your motherboard’s BIOS and cooling system are designed to handle these profiles. You won’t damage anything by enabling them.
A: No. XMP/EXPO is a global setting in BIOS that applies to all installed RAM modules at once. Once enabled, both DIMMs will run at the rated speed.
A: Only if your motherboard and CPU support it. DDR4 XMP is widely available on Z690, Z790, X570, and newer boards. Older boards (B450, H370) may not have XMP/EXPO support. Check your motherboard manual.
A: XMP 3.0 (released in 2022) is optimised for DDR5 with more profile options and better auto-adjustment. XMP 2.0 is DDR4-era. Choose Profile 1 of whatever version your RAM supports — the BIOS will handle the details.
A: Profile 1 is the default and most stable. Only use Profile 2 if your RAM documentation specifically recommends it or if Profile 1 causes instability.
A: Slightly. XMP/EXPO runs at higher speed and voltage, so power draw increases by 5–10%. Temperature increase is minimal (2–5 degrees Celsius) on modern boards with adequate cooling. Thermal impact is negligible on air-cooled systems.
Summary: Three Steps to Full RAM Speed
- Check current speed: Open Task Manager → Performance → Memory and note the current speed.
- Enter BIOS: Restart, press Delete (or F2), navigate to the OC/Performance section, and enable XMP (Intel) or EXPO (AMD) Profile 1.
- Verify and test: Reboot, check Task Manager again to confirm the new speed, and run your applications for 15 minutes to ensure stability.
That’s it. Three simple steps unlock the full potential of your RAM investment. If you spent £150+ on a RAM kit, enabling XMP/EXPO takes five minutes and is absolutely worth doing.
Recommended upgrades
As an Amazon Associate we earn from qualifying purchases. Prices & availability shown on Amazon.