
ASUS ROG Desktop Upgrade Guide (2026) — Gaming RAM, SSD & Storage
ASUS Republic of Gamers (ROG) desktops are engineered for gaming and content creation, featuring high-performance components, striking aesthetics, and—most importantly for this guide—excellent upgrade paths. The ROG lineup (Strix G10, G15, G35 and other variants) prioritizes modularity, making it easy to expand memory and storage without special tools or expertise.
This guide covers all current ASUS ROG desktop models, provides detailed upgrade specifications, and walks you through the installation process step-by-step.
ASUS ROG Desktop Model Lineup
Current ROG Series Overview
| Model | Form Factor | Target Audience | Base Processor | Base Memory |
|---|---|---|---|---|
| Strix G10 | Small form factor (SFF) | Competitive gamers, streamers (budget-conscious) | Intel Core i5–i7 | 16GB–32GB DDR4/DDR5 |
| Strix G15 (formerly G15CE) | Mid-tower | Competitive gamers, content creators | Intel Core i7–i9, AMD Ryzen 7–9 | 32GB–64GB DDR4/DDR5 |
| Strix G35 | Mid-tower (premium) | High-end gaming, 4K streaming, 3D content | Intel Core i9-13900KS+, AMD Ryzen 9 7950X3D | 32GB–128GB DDR4/DDR5 |
| Strix GT35 | Full tower (workstation-class) | Professional studios, demanding workloads | Intel Xeon W, AMD Ryzen Threadripper | 64GB–256GB DDR4/DDR5 |
ASUS ROG advantage: All models use standard desktop components, not proprietary parts. This means you can upgrade with off-the-shelf parts from major manufacturers like Corsair, Kingston, and Samsung — no need for OEM-specific components.
Memory (RAM) Specifications
Strix G10 — Compact Gaming Build
| Specification | Details |
|---|---|
| RAM Type | DDR4-3200, DDR4-3600, DDR5-6000 (depends on config) |
| Form Factor | U-DIMM (standard full-size desktop modules) |
| DIMM Slots | 4 (all easily accessible) |
| Stock Configuration | 16GB or 32GB (2 × 8GB or 2 × 16GB) |
| Maximum Supported | 192GB (4 × 48GB modules, if available; typically 128GB with 4 × 32GB) |
Compact form factor note: The Strix G10 uses a small tower case but still supports standard full-size U-DIMM modules (not SODIMM). This is unusual for SFF systems and makes upgrading more economical — you have more module size options.
Strix G15 — Mid-Tower Gaming
| Specification | Details |
|---|---|
| RAM Type | DDR4-3600, DDR5-6000 (most common in 2024+) |
| Form Factor | U-DIMM (standard full-size desktop modules) |
| DIMM Slots | 4 to 6 (depending on motherboard revision) |
| Stock Configuration | 32GB or 64GB (2 × 16GB or 2 × 32GB) |
| Maximum Supported | 192GB–256GB (4–6 × 48GB modules, or practical max ~256GB with 6 × 32GB) |
Strix G35 — High-End Gaming & Content Creation
| Specification | Details |
|---|---|
| RAM Type | DDR5-6000+ (standard), or DDR4-3600 (legacy configs) |
| Form Factor | U-DIMM or overclocked gaming RAM (RGB heatspreaders) |
| DIMM Slots | 4 to 8 (depending on CPU tier: Intel 13th/14th gen vs. AMD Ryzen 7000) |
| Stock Configuration | 32GB–128GB (varies significantly by SKU) |
| Maximum Supported | 256GB–512GB (depending on motherboard and CPU memory bus) |
G35 variant note: ASUS offers G35 models with Intel and AMD platforms separately. Intel-based models (Core i9-13900KS/14900KS) use DDR5 on LGA1700 socket. AMD-based models (Ryzen 9 7950X3D) use DDR5 on AM5 socket. Both are completely different and not interchangeable — confirm your platform before purchasing RAM.
Storage (SSD/NVMe) Specifications
M.2 NVMe Slots
| Model | M.2 Slots | PCIe Speed | Form Factors Supported | Max Capacity |
|---|---|---|---|---|
| Strix G10 | 2 to 3 | PCIe 4.0 (16 Gbps) | 2242, 2260, 2280 | 4TB–8TB |
| Strix G15 | 2 to 3 | PCIe 4.0 or 5.0 (32 Gbps on newer models) | 2242, 2260, 2280 | 4TB–8TB per slot |
| Strix G35 | 3 to 4 | PCIe 5.0 (32 Gbps) | 2242, 2260, 2280 | 8TB–16TB total |
| Strix GT35 | 4 to 6 | PCIe 5.0 (32 Gbps) | 2242, 2260, 2280 | 16TB–32TB total |
PCIe 5.0 advantage: Newer ASUS ROG models (especially G35) support PCIe 5.0, which doubles the speed of PCIe 4.0. This is particularly beneficial for content creators working with large video files or real-time data processing. However, PCIe 5.0 drives are expensive — PCIe 4.0 drives still provide excellent performance for gaming and typical workloads.
2.5-inch SATA Bay Support
Many ROG tower models include 2.5-inch SATA bays (typically 2 to 4):
- 2.5-inch SATA SSDs are supported at standard SATA speeds (6 Gbps)
- Useful for secondary storage, game libraries, or media backup
- Much cheaper than NVMe but significantly slower
- If your machine has SATA bays and spare capacity, they’re ideal for adding archival storage
Step-by-Step RAM Upgrade Procedure
Tools Required
- Anti-static wrist strap (optional but recommended)
- Flashlight (to see inside the case clearly)
- No screwdrivers required — most ROG towers use thumb screws or tool-free panels
Upgrade Steps
Step 1: Power Down and Unplug
- Shut down the ROG desktop completely
- Unplug the power cable from the back
- Wait 30 seconds for residual power to dissipate
Step 2: Open the Case Side Panel
- Most ASUS ROG towers have a side panel held by thumb screws (two or three)
- Loosen these screws and slide the panel off to the right (or left, depending on your model)
- You now have clear access to the memory area
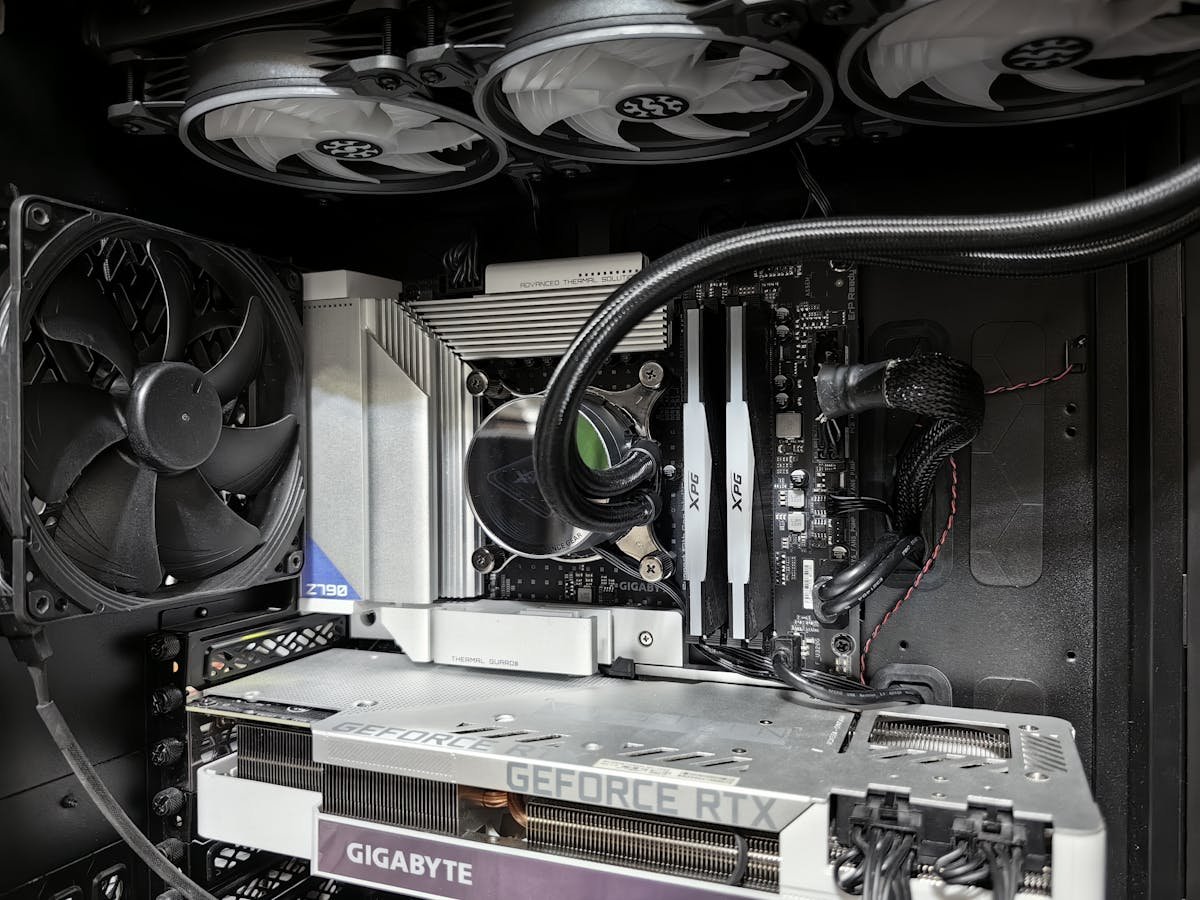
Step 3: Locate Memory Slots
- Look toward the center-left of the motherboard
- You’ll see vertical U-DIMM slots, typically 4 or more
- Existing memory modules stand vertically in these slots
- The slots are usually color-coded (e.g., black slot 1 & 2, blue slot 3 & 4) for dual-channel optimization
Step 4: Ground Yourself
- Touch a bare metal part of the case frame to discharge any static electricity
- If wearing an anti-static strap, ensure it’s properly connected to the case
Step 5: Remove Existing Modules (If Upgrading)
- On each DIMM, you’ll see small ejector clips (blue or black levers) on the ends
- Press both clips outward simultaneously
- The module will pop up at a 45-degree angle
- Gently pull it straight out
- Place it on an anti-static mat or in an anti-static bag
- Repeat for each module you’re replacing
Step 6: Install New Modules
- Align the new U-DIMM with an empty slot, matching the notch in the module to the key in the slot
- Press down firmly at a 45-degree angle until both ejector clips snap around the ends
- The module should now be vertical, fully seated, and flush against the slot
- There should be no gaps or wobbling
Step 7: Close the Case and Power On
- Slide the side panel back into place
- Tighten the thumb screws (firm but not over-tight)
- Reconnect the power cable and power on the ROG desktop
Step 8: Verify Installation
- Boot into Windows and right-click This PC → Properties
- You should see your new total RAM under “Installed RAM”
- Alternatively, open Task Manager and check the Performance tab → Memory
Step-by-Step NVMe SSD Upgrade
What You Need: Small Phillips screwdriver (very small, usually #000), anti-static strap, new M.2 NVMe drive
Procedure:
- Power down and unplug the ROG desktop
- Open the side panel as above
- Locate the M.2 slots on the motherboard (labeled M.2_1, M.2_2, etc., usually toward the top-right or center-right)
- If the slot has a heatspreader, gently unscrew the single Phillips screw holding it (this is optional — you can leave heatspreaders off)
- Hold your new NVMe drive at a 30-degree angle and insert it gently into the slot
- Press down until the drive sits flat against the motherboard
- Install the retaining screw (usually a small brass screw with a washer) — tighten gently, do not overtighten
- If desired, reinstall the heatspreader (holds thermal pads for heat dissipation)
- Close the case and power on
- Boot to Windows, open Disk Management, and initialize the new drive if necessary
Form factor verification: ASUS ROG towers support M.2 2280 (most common), 2260, and 2242. Most third-party NVMe drives are 2280. Verify before purchasing.
Recommended Upgrade Components for ROG Desktops
| Component | Capacity | Compatibility | Price Range | Link |
|---|---|---|---|---|
| Corsair Vengeance DDR5 | 16GB–32GB | DDR5 models (G15, G35 2024+) | £40–100 | View on Amazon |
| G.SKILL Trident Z5 DDR5 RGB | 16GB–32GB | DDR5 models (gaming-optimized, RGB) | £50–120 | View on Amazon |
| Kingston Fury DDR4 Beast | 8GB–32GB | DDR4 models (legacy, budget option) | £25–80 | View on Amazon |
| Samsung 990 Pro NVMe SSD | 1TB–4TB | PCIe 4.0 (all ROG models) | £80–300 | View on Amazon |
| WD Black SN850X NVMe | 1TB–4TB | PCIe 4.0 (excellent gaming drive) | £70–250 | View on Amazon |
| Corsair MP600 Core XT NVMe | 1TB–4TB | PCIe 4.0 (budget-friendly) | £60–220 | View on Amazon |
DDR4 vs. DDR5 in ASUS ROG Desktops
DDR4 (Legacy, Phasing Out)
- Speed: 3200–3600 MHz (standard), up to 4000 MHz (overclocked)
- Gaming performance: Excellent for gaming; no visible difference from DDR5 in most games
- Cost: Cheaper than DDR5
- Availability: Still available but increasingly rare as manufacturers transition to DDR5
DDR5 (Current Standard)
- Speed: 5600–7200 MHz (standard)
- Gaming performance: Slightly faster in some games, but differences are marginal (1–5% FPS improvement)
- Content creation: More significant improvement in video editing, rendering, and data-intensive workflows
- Cost: Expensive, but prices are dropping
- Future-proof: DDR5 will be standard for many years; DDR4 is becoming legacy
Recommendation: If upgrading an older ROG desktop (2021–2022 with DDR4), the cost-to-performance ratio of upgrading to DDR5 is poor. Stick with DDR4 unless you’re building a new system. For new ROG purchases or recent models, DDR5 is worth the cost.
Troubleshooting ROG Upgrade Issues
Problem: One or More Modules Not Recognized
Solution: Power down, open the case, and firmly reseat each module. Ensure the ejector clips fully engage on both sides. Sometimes, partial seating causes one module to be undetected while others work fine.
Problem: New SSD Not Appearing in Windows
Solution: Open Disk Management (right-click This PC, select Manage, then Disk ManagementInitialize Disk. Choose GPT (recommended for modern systems).
Problem: Overheating After RAM/SSD Upgrade
Solution: This is unusual but can happen if you accidentally disturbed heatsinks or fans during upgrade. Open the case, verify all heatsinks are properly seated, and check that no cables are blocking airflow. Restart and monitor temperatures in ROG Armoury Crate (ASUS system monitoring software).
Related ASUS Upgrade Guides
- ASUS ExpertCenter D700SD Desktop Compatibility
- ASUS ExpertCenter D500SD Desktop Compatibility
- ASUS ROG Strix GT15 Desktop Compatibility
- ASUS ROG Strix G16CH Desktop Compatibility
- ASUS ExpertCenter Desktop Upgrade Guide
- ASUS Upgrade Guide
Not sure what fits? Use our free Compatibility Checker covering 3,195+ models.
Helpful Guides
Frequently Asked Questions
Prices and availability may vary. As an Amazon Associate, we earn from qualifying purchases.
Recommended Desktop Upgrades (RAM & SSD)
As an Amazon Associate we earn from qualifying purchases. Prices & availability shown on Amazon.