/*
POST TITLE: How to Repaste Your Laptop — Thermal Compound Replacement Guide (2026)
SLUG: how-to-repaste-laptop-thermal-compound
CATEGORIES: [89, 127]
FOCUS KEYWORD: how to repaste laptop thermal compound
META DESCRIPTION: Learn how to safely replace thermal paste on your CPU and GPU. Reduce thermals by 10-20°C and improve performance with this step-by-step thermal repaste guide.
*/
If your laptop runs hot, throttles performance under load, or sounds like a jet engine, dried thermal paste is often the culprit. Over 2-3 years, the thin layer of compound between your CPU/GPU and heatsink degrades, reducing heat transfer efficiency. Replacing it is one of the highest-ROI upgrades you can do, often dropping temperatures by 10-25°C and restoring lost performance.
Signs Your Thermal Paste Has Degraded
- High CPU/GPU temperatures: Consistently above 90°C during gaming or video rendering
- Unexpected throttling: Performance drops under sustained load
- Loud fan noise: Fans ramping to maximum even during light workloads
- System shutdowns: Laptop powers off to prevent heat damage
- Aging laptop: Any laptop over 3 years old likely needs repasting
Before repasting, download monitoring software like HWMonitor (Windows) or Macs Fan Control to track your baseline temperatures. You’ll see the improvement immediately after repasting.
Materials You’ll Need
- High-quality thermal paste (Thermal Grizzly Kryonaut or Arctic MX-6)
- Isopropyl alcohol (90%+ purity)
- Lint-free cloth or coffee filters (not paper towels—they leave residue)
- Plastic scraper or old credit card
- Phillips PH0 or PH1 screwdriver
- Thermal pads (if your model uses them—check your reference video)
For high-quality thermal paste and supplies, check Amazon UK for thermal compound options.
Identifying Your Cooling Setup
Most modern laptops have one of two thermal designs:
| Type | CPU Cooling | GPU Cooling | Notes |
| Single heatsink | CPU direct contact with heatsink | Shared with CPU via vapor chamber | Most ultrabooks, thin laptops |
| Dual heatsink | Dedicated heatsink with thermal paste | Dedicated heatsink, likely thermal pad | Gaming laptops, mobile workstations |
Gaming laptops and workstations often use thermal pads (solid silicone) instead of paste on some components. Do not replace thermal pads with paste—use equivalent thickness pads (often 3mm or 5mm) if they’re degraded.
Step 1: Shut Down & Disconnect Everything
Completely power off your laptop and unplug the power adapter. Wait 10 minutes for the device to cool completely. Never touch heatsinks or the CPU die while they’re warm—you risk burns and spreading old thermal paste into unwanted areas.
Step 2: Remove the Bottom Panel
Most laptops have a removable bottom panel held by 8-12 screws. Remove these screws (keeping them organized) and carefully lift the panel. Some panels have clips—check your YouTube reference video for your model. The bottom panel gives you access to the cooling system and motherboard.
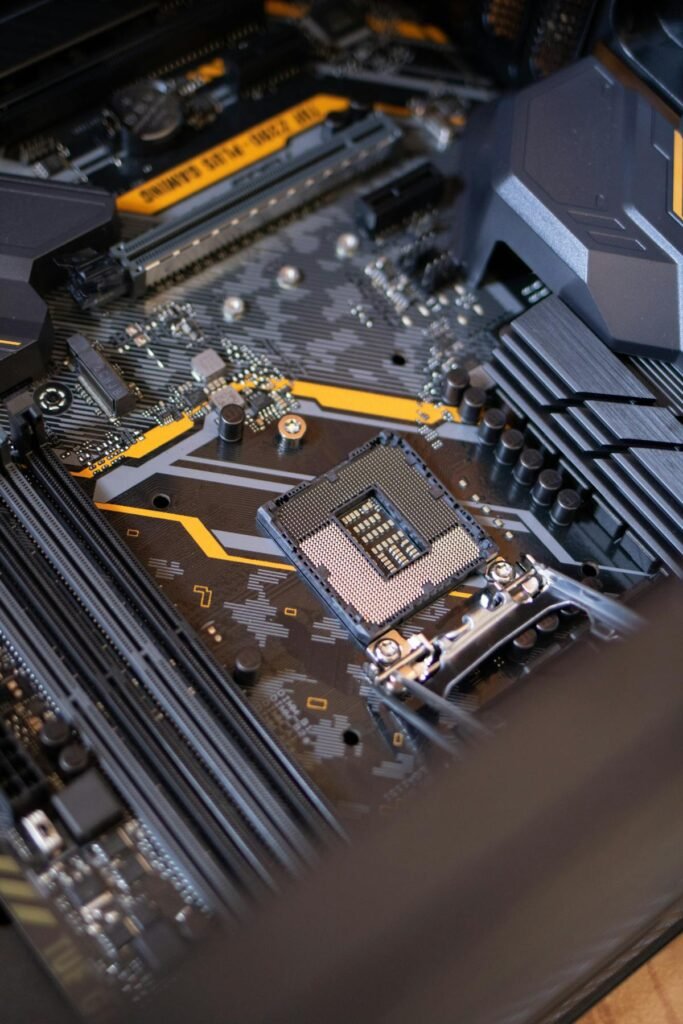
Step 3: Locate the CPU & GPU (If Discrete)
The CPU is the large square chip in the middle-to-upper area of the motherboard. If your laptop has a discrete GPU (NVIDIA GTX/RTX or AMD), it’s usually nearby. You’ll see heatsinks attached to these via thermal paste or pads. Do not touch the die (the dark square centre)—the oils from your fingers degrade thermal contact.
Step 4: Disconnect the Cooler (If Required)
Some laptops have heatsinks held by clamps or screws. Others have them soldered or glued to the vapor chamber. Check your reference video to see if you can remove the heatsink. If it’s glued or soldered, do not attempt removal—you’ll damage the motherboard. Instead, repaste without removing: clean around the edges, apply new paste carefully, and use a thin spatula to work it under the edges.
If the heatsink is removable (usually 3-4 Torx screws), carefully remove it. Set it aside. Be gentle—the heatsink is often aluminum and can bend easily.
Step 5: Clean the Old Thermal Paste
Use your plastic scraper to gently lift the old thermal paste from the CPU die. Do not use excessive force—the die is fragile. Once bulk paste is removed, dampen a lint-free cloth with isopropyl alcohol and gently wipe the CPU and the underside of the heatsink. The surface should be completely clean and shiny.
For stubborn residue, let the alcohol sit for 30 seconds before wiping. Use a fresh cloth for each wipe to avoid spreading old paste around. Repeat until the surface is completely clean—any residue degrades the new paste’s performance.
Step 6: Clean Other Thermal Interfaces
If your laptop has thermal pads on the GPU, RAM, or power delivery components, inspect them for degradation. If they’re hard, cracked, or no longer compressible, they need replacement. Order replacement pads in the same thickness (usually stamped on the original: 3mm, 5mm, etc.).
Clean around these areas with isopropyl alcohol as well. Let everything air dry completely (2-3 minutes).
Step 7: Apply New Thermal Paste
Apply a pea-sized dot of thermal paste to the center of the CPU die. Do not apply to the GPU unless your reference video specifically recommends it (many GPUs use pads). The paste should be about the size of a small pea—roughly 3-4mm diameter.
Critical: Do not spread the paste across the die with your finger or a tool. When you mount the heatsink, the pressure will spread the paste evenly across the entire contact surface. Spreading it beforehand often creates air bubbles and uneven coverage.
Step 8: Reinstall the Heatsink
If you removed the heatsink, reinstall it now. Lower it straight onto the CPU and hand-tighten all screws first. Then go back and tighten each screw in a crisscross pattern (like tightening car wheel lugs) to ensure even pressure. Use firm but not excessive pressure—over-tightening can warp the heatsink or motherboard.
You should see a thin layer of paste squeeze out around the heatsink edges—this is normal and confirms good contact.
Step 9: Reconnect Fans & Power
If you disconnected any fan cables to remove the heatsink, reconnect them now. Ensure the connectors are fully seated. Reinstall the bottom panel and all screws.
Step 10: Test & Monitor Temperatures
Power on the laptop and let it boot normally. Open your temperature monitoring software (HWMonitor, Throttlestop, Macs Fan Control) and run a stress test. Use Prime95, FurMark, or 3D benchmark software to push the CPU and GPU to full load for 10 minutes.
You should see temperatures drop significantly—typically 10-25°C lower than before repasting. If temperatures are still high, the heatsink may not be making full contact. Power down, remove the bottom panel again, and check that the heatsink is seated properly.
Thermal Paste Types & Performance
| Paste Type | Performance | Cost | Best For |
| Stock paste | Baseline (degrades in 2-3 years) | Free | Budget replacements only |
| Arctic MX-6 | Excellent, non-conductive | £5-8 | Most laptops, safe for electronics |
| Thermal Grizzly Kryonaut | Best-in-class performance | £8-12 | High-end gaming, professional workstations |
| Conductonaut (liquid metal) | Peak performance (+5-10°C vs paste) | £15-20 | Expert users only—conductive, risky if spilled |
For most users, Arctic MX-6 offers excellent value and safety. Thermal Grizzly is worth the premium if you plan to keep your laptop for 5+ years or use it for intensive workloads.
Common Issues & Troubleshooting
| Problem | Solution |
| Temperatures still high after repaste | Heatsink may not be making full contact. Power off, remove bottom panel, loosen heatsink screws, apply more paste, and retighten in a crisscross pattern. |
| Thermal paste between fins got applied | Paste between heatsink fins is normal and actually improves heat transfer. Do not try to clean it—it will dry and harden, improving performance. |
| Paste is leaking onto nearby components | Apply less paste next time (small pea size only). If it’s leaking now, clean with isopropyl alcohol. Ensure it’s non-conductive paste (Arctic MX-6, not conductonaut). |
| Fans are still loud after repasting | Fans may be clogged with dust. Use compressed air to blow out dust from heatsink fins and fan blades. Thermal repaste alone won’t help if airflow is blocked. |
Thermal Pad Replacement
If your laptop uses thermal pads instead of paste (common on GPU, RAM, power delivery), they degrade similarly. Pads are usually 0.5-5mm thick and listed on the component’s label. Order replacement pads of the same thickness and hardness (Shore A rating), remove the old pad, clean the area with isopropyl alcohol, and apply the new pad. No pressure or spreading required—just stick it on.
Related Guides
- Best Tools for Laptop Repair (2026)
- How to Replace Your Laptop Screen
- Laptop Upgrade Difficulty Ratings by Brand
FAQ
Recommended Products
Looking for compatible upgrades? Here are our top picks available on Amazon UK: