Laptop Won’t Boot After RAM Upgrade — Step-by-Step Recovery Guide
You installed new RAM, pressed the power button, and got a black screen or no display. Or maybe you’re hearing beeping sounds, error codes, or the laptop turns on but immediately shuts off. This feels like a disaster, but it almost certainly isn’t permanent damage. Most boot failures after a RAM upgrade are fixable in minutes.
This guide will walk you through the most common causes and how to get your laptop back to a working state. Stay calm — the chances are very high that your system will boot again.
Don’t Panic — Common Causes & Why They’re Fixable
Before you start troubleshooting, understand that a no-boot situation after an upgrade typically comes from one of these sources:
| Cause | Symptom | Seriousness |
| RAM not fully seated | Black screen or beeping | Easy fix (1–2 minutes) |
| RAM in wrong slot | Black screen or system shuts down immediately | Easy fix (1–2 minutes) |
| Incompatible RAM | Beeping or slow POST (Power-On Self-Test) | Medium (requires testing each module) |
| CMOS/BIOS corrupted | Random boot failures, repeated beeping | Medium (CMOS reset required) |
| Faulty RAM module | Consistent beeping in specific patterns | Medium (needs replacement) |
The critical point: A no-boot situation does not mean your laptop’s motherboard, storage, or operating system is damaged. In 95% of cases, it’s a physical seating or compatibility issue.
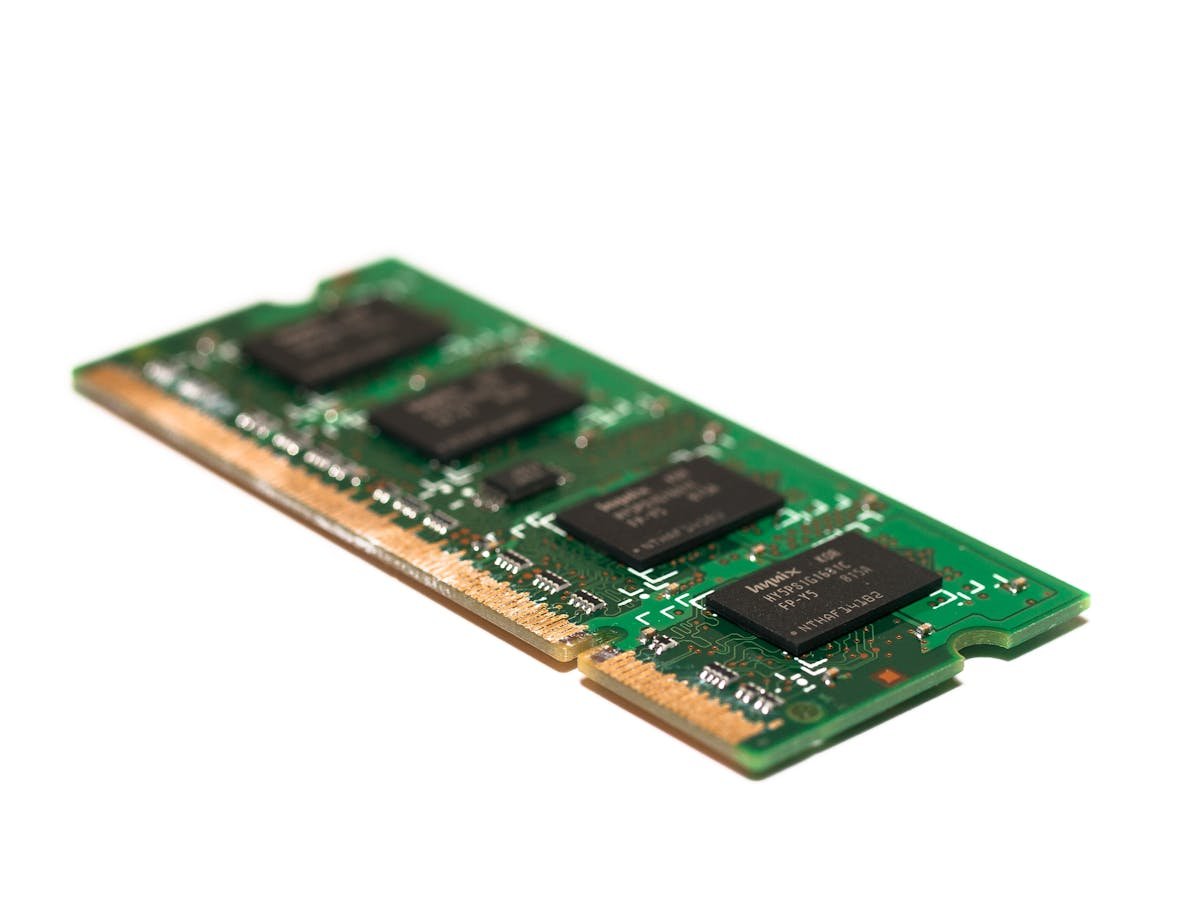
Step 1: Reseat the RAM — The Most Common Fix
Before doing anything else, power down completely and reseat the RAM. This fixes the problem about 60% of the time.
How to Reseat RAM
- Shut down your laptop completely and unplug the power adapter.
- Remove the battery (if removable) or hold the power button for 10 seconds to discharge residual power.
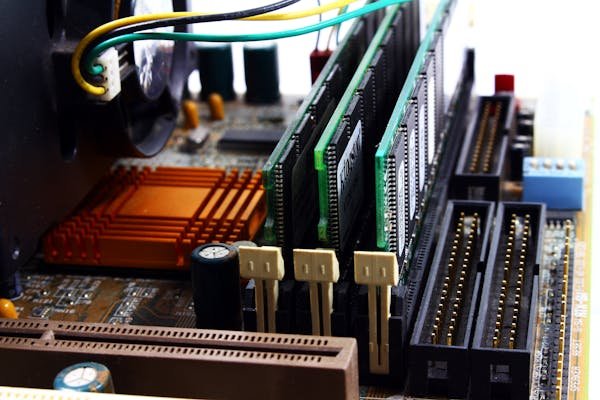
- Open the access panel to expose the RAM slots (usually 1–4 screws).
- Look for the RAM module(s) you just installed.
- Push the retention clips on both ends of the RAM slot outward. The module will pop up at an angle.
- Remove the module completely (set it aside on a non-conductive surface).
- Wait 10 seconds, then reinsert it:
- Align the notch in the module with the raised ridge in the slot.
- Press down at a 45-degree angle until the clips snap inward on both sides — you should hear two distinct clicks.
- Press down firmly to make the module level with the slot.
- Close the access panel and screw it shut.
- Plug in the power adapter, press the power button, and wait for the system to boot.
If the laptop boots normally after reseating, you’ve solved the problem. If not, proceed to Step 2.
Step 2: Try One Stick at a Time
If reseating didn’t work, the problem might be with the specific module, or a compatibility issue between modules. Test them one at a time.
Testing Process
- Power down and unplug your laptop.
- Open the access panel again.
- Remove both RAM modules.
- Reinstall only your original/existing RAM (if you have it), in Slot 1 (the primary slot, usually marked DIMM 1 or SO-DIMM 1).
- Close the panel, power on, and boot into Windows.
- If it boots successfully with the old RAM, you’ve confirmed the problem is related to the new module or how it’s installed.
- Power down, unplug, and replace the old RAM with just the new module in Slot 1.
- Power on and see if it boots.
- If Slot 1 doesn’t work with the new RAM, try installing the new module in Slot 2 and testing again.
What You’re Looking For
- Old RAM only boots fine → Problem is with the new module or compatibility.
- New RAM boots fine in Slot 2 but not Slot 1 → Slot 1 is faulty (rare).
- New RAM boots fine in both slots separately → Compatibility issue when both are installed (see Step 5).
- Nothing boots, old or new → Physical damage to the motherboard or a pre-existing issue (contact a technician).
Once you’ve identified which RAM/slot combination works, you can either continue with one module only or proceed to troubleshooting dual-channel compatibility (Step 5).
Step 3: Check Slot Order & Configuration
Some laptops have a specific order for RAM installation, and installing modules in the wrong order can prevent booting.
Common Slot Rules
- Slot 1 (DIMM 1) must have RAM — Some older laptops won’t boot with only Slot 2 populated.
- If using two modules, Slot 1 should come first — Install your old module in Slot 1, new module in Slot 2.
- Matching modules work better — Identical speed and capacity reduces compatibility issues.
Test Different Configurations
- Try: Old RAM in Slot 1, new RAM in Slot 2. Does it boot?
- Try: New RAM in Slot 1, old RAM in Slot 2. Does it boot?
- Try: New RAM only in Slot 1. Does it boot?
- Try: New RAM only in Slot 2. Does it boot?
Document which configuration(s) work. This tells you if Slot 2 is faulty, or if the modules just need to be in a specific order.
Step 4: Perform a CMOS/BIOS Reset
If the above steps haven’t worked, a CMOS reset may help. The CMOS is a small battery on your motherboard that stores BIOS settings. Resetting it clears those settings and sometimes resolves boot issues.
CMOS Reset Method 1: Remove the Battery (Easiest)
- Power down and unplug your laptop.
- Remove any RAM modules (so they’re not in the system).
- Open the access panel.
- Look for the CMOS battery — it’s a small, coin-like silver disc (usually CR2032, about the size of a watch battery).
- Carefully pry it out with a non-conductive tool (plastic spoon or plastic prying tool, not a screwdriver).
- Wait 30 seconds.
- Reinsert the battery, making sure the positive side (+) faces up.
- Wait another 30 seconds.
- Reinstall your RAM modules.
- Close the access panel and power on.
CMOS Reset Method 2: Jumper Reset (If You Can Find It)
Some laptops have a CMOS jumper (a small 3-pin connector) that you can move to reset the BIOS. However, this is less common in laptops than in desktops.
- Look for a label near the motherboard that says “CMOS CLR” or similar.
- If you find it, there will be a jumper (small plastic piece) on two of the three pins.
- Move the jumper to the third position (or remove it entirely) for 10 seconds.
- Move it back to the original position.
- Power on and test.
If you can’t find a CMOS battery or jumper, contact your laptop’s support team for specific reset instructions.
What a CMOS Reset Does
It clears all BIOS settings and restores factory defaults. This shouldn’t affect your Windows installation or files, but you may need to re-enter settings like:
- Boot order (the order in which the system checks for bootable devices)
- RAM speed or XMP/DOCP settings
- Hard drive configuration
After a CMOS reset, your system should boot with factory defaults, and you can reconfigure if needed.
Step 5: Verify RAM Compatibility
If one RAM module boots fine but the system won’t boot with both modules together, you have a compatibility issue.
Check These Compatibility Points
- DDR4 vs DDR5 — You can’t mix these types. Verify both modules are the same generation.
- Speed mismatch — Installing 3600MHz RAM next to 2933MHz RAM can cause boot failures on older systems. Both will run at the speed of the slower stick, but some laptops don’t like mismatched speeds.
- Voltage mismatch — DDR4 runs at 1.2V; DDR5 runs at 1.1V. Mixing them is impossible (different slot types), but verify both your modules have matching voltage specs (usually printed on the module).
- Latency mismatch — CAS latency (shown as CL16, CL18, etc.) can differ slightly without causing issues, but extreme differences might cause problems.
Solution for Compatibility Issues
If your old and new RAM are incompatible, you have a few options:
- Replace the old RAM — Keep the new module and buy a matching second module instead of keeping mismatched RAM.
- Return the new RAM — If it’s newly purchased, return it and buy a module that matches your existing RAM (same speed, voltage, and type).
- Run with just one module — Use either the old RAM or the new RAM, but not both. This is a temporary solution if you need your laptop to work immediately.
For detailed compatibility information about your laptop model, see our Laptop RAM Compatibility Guide.
Step 6: Decode Beep Codes — What Your Laptop Is Telling You
If your laptop is beeping during startup, the beep pattern is a diagnostic code. Different manufacturers use different patterns, but here are the most common ones:
Common Beep Code Patterns
| Beep Pattern | Meaning | Likely Cause | Next Step |
| One long, two short beeps | Video card error | Video RAM problem (rare with new RAM install) | Reseat the RAM and try CMOS reset |
| One long, three short beeps | Memory error | RAM not detected or faulty | Reseat RAM, try each stick separately, CMOS reset |
| Continuous beeping | RAM not detected at all | RAM not seated or slot is faulty | Remove RAM, reseat it firmly, check for bent pins |
| One short beep (then boots) | System is OK | Normal boot sequence | If this is happening now, your system is working |
| Repeating beep pattern (e.g., 1-2-3-1-2-3) | Pattern varies by manufacturer | Usually RAM or motherboard issue | Reseat RAM, try CMOS reset, test with old RAM only |
Brand-Specific Beep Codes
- Dell, HP, ASUS, Lenovo: “One long, three short” typically means RAM error.
- Apple: Beeping pattern (3-4 times with pauses) indicates POST error. Most common cause is RAM not seated.
- Acer, MSI, Gigabyte: Similar to above — three beeps usually indicates RAM.
If you’re getting beep codes, reseat your RAM (Step 1) and try the CMOS reset (Step 4). These fix beep-related boot issues 80% of the time.
Step 7: Desktop-Specific Steps (If You Have a Desktop PC)
Desktop computers have slightly different boot recovery procedures than laptops. If you’re troubleshooting a desktop, here are additional steps:
Check the Power Supply
If your desktop won’t even turn on, the power supply might not be delivering enough power for the extra RAM. Check:
- Is the power supply switch on the back turned ON?
- Is the power cable fully plugged into both the wall and the PSU?
- Does your PSU have enough capacity? (Upgrading RAM doesn’t use much power, but adding multiple modules might push an older, underpowered PSU to its limit.)
Reseat the 24-Pin and 8-Pin CPU Power Connectors
Desktops have more power connectors than laptops. If RAM was just installed, vibration from opening the case might have loosened these connectors:
- Power off and unplug the desktop.
- Locate the large 24-pin connector (ATX power) plugged into the motherboard.
- Unplug it and replug it firmly — you should feel it click.
- Locate the 8-pin CPU power connector (near the CPU, top-left of the motherboard usually).
- Unplug and replug it as well.
- Power on and test.
This is a common cause of no-boot situations on desktops after opening the case.
Step 8: Still Won’t Boot? Advanced Diagnostics
If you’ve tried all the above steps and your laptop still won’t boot, you’re dealing with one of these scenarios:
Scenario A: The New RAM Module Is Faulty
Test this by:
- Running your system with only the old RAM module installed.
- If it boots fine without the new module, the new module is likely defective.
- Contact the RAM manufacturer (Kingston, Corsair, Samsung, etc.) for an RMA (return and replacement).
Scenario B: You’ve Accidentally Damaged the Motherboard
This is rare, but possible if you bent pins, spilled liquid, or dropped something on the motherboard during installation. Signs include:
- Physical damage visible on the motherboard or RAM slots.
- Burnt or melted plastic near the RAM slots.
- The system won’t boot even with old RAM only.
If you suspect physical damage, contact a professional technician. Motherboard repair or replacement is needed.
Scenario C: Windows Files Were Corrupted During a Forced Shutdown
If your laptop briefly boots and then shuts down repeatedly, Windows files might have been corrupted. Try:
- Boot into Safe Mode by restarting and pressing F8 or Shift+F8 repeatedly during startup (timing varies by manufacturer).
- Once in Safe Mode, run Windows Disk Check: Command Prompt → type `chkdsk C: /f` and press Enter.
- Restart and see if Windows boots normally.
If Safe Mode won’t boot, you may need to reinstall Windows or have a technician repair the installation.
Frequently Asked Questions
Why is my laptop beeping but not showing anything on the screen?
Beeping during startup (called POST — Power-On Self-Test) is the system’s way of telling you something is wrong. The beep pattern indicates what the problem is. See Step 6 (Beep Codes) above to decode the pattern. Usually, it means RAM isn’t seated properly.
Can I have damaged my data by forcing a shutdown after a failed RAM upgrade?
No. Your data on the hard drive is safe. A failed boot doesn’t affect stored files. However, repeated forced shutdowns (holding the power button) can occasionally cause Windows system files to become corrupted, which is why it’s important to attempt proper shutdowns even if the system is failing to boot.
How long should I wait during the CMOS reset?
Wait at least 30 seconds after removing the battery (or moving the jumper) before reinserting it. This ensures the CMOS capacitor fully discharges. Longer is fine — there’s no harm in waiting a minute or two.
What if my laptop has no removable access panel?
Some ultra-thin laptops (like MacBook Air) don’t have removable access panels. In this case, you may need to remove the entire bottom case or take it to a technician. Check your laptop’s user manual for the correct disassembly procedure.
Is it safe to hold the power button down until the laptop shuts off?
Yes, force-shutting down a non-responsive laptop is safe for the hardware. However, it can occasionally corrupt Windows system files. If you need to force-shutdown, do it, but be aware you may need to repair Windows afterward (or reinstall it in worst-case scenarios).
Do I need to enter BIOS and change settings after a CMOS reset?
Not necessarily. A CMOS reset restores factory defaults, which usually work fine. However, you may want to check:
- Boot order (make sure your hard drive is first in the boot sequence)
- XMP/DOCP settings (if you want to enable faster RAM speeds)
- Date and time (CMOS resets often clear these)
For most users, factory defaults are sufficient to get back to a working state.
Tools & Products for Boot Recovery
| Product | Why We Recommend It | Amazon UK |
| Precision Screwdriver Set | Essential for opening your laptop to reseat RAM or access the CMOS battery. Magnetic heads prevent dropping screws inside your system. | View on Amazon UK |
| Spudger Toolkit | Plastic spudgers safely pry open access panels without damaging the case or scratching the paint. Essential for laptop disassembly. | View on Amazon UK |
| Anti-Static Wrist Strap | Prevents electrostatic discharge (ESD) that can damage the motherboard while you’re working. Essential safety equipment. | View on Amazon UK |
| LED Work Light or Headlamp | The inside of a laptop can be dark. A hands-free LED light helps you see RAM slots, the CMOS battery, and other small components clearly. | View on Amazon UK |
| MemTest86 Pro USB | Run comprehensive RAM diagnostics without needing Windows. If your laptop won’t boot, burn MemTest86 to a USB stick and test if the RAM itself is faulty. | View on Amazon UK |
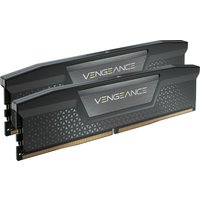
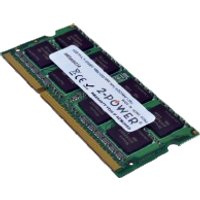
| Kingston FURY DDR4 16GB (Backup RAM) | Keep a known-good RAM module on hand for testing. If you can swap in known-good RAM and the system boots, the problem is with your new module. | View on Amazon UK |
| USB-to-SATA Adapter | If your laptop is failing to boot due to storage issues (not RAM), you can access your hard drive externally via USB to diagnose or recover data. | View on Amazon UK |
| Windows Installation USB | If Windows files become corrupted during repeated boot failures, you’ll need installation media to repair or reinstall Windows. Have this on hand. | View on Amazon UK |
| Compressed Air Duster | While you have your laptop open, clean out dust. Dust buildup can cause overheating and unexplained boot failures. | View on Amazon UK |
| CR2032 Button Battery (CMOS Battery) | If your laptop’s CMOS battery is dead or dying, have a replacement on hand. Most laptops use this standard coin-cell battery. | View on Amazon UK |
Prices and availability may vary. As an Amazon Associate, we earn from qualifying purchases.
Related Guides & Resources
- RAM Not Recognised After Upgrade — If your system boots but doesn’t detect the new RAM, this guide covers BIOS settings, compatibility, and testing.
- Laptop Upgrade Troubleshooting Hub — Complete reference guide for all RAM and SSD upgrade issues.
- SSD Not Showing Up After Installation — If your new SSD isn’t detected, start here.
- Laptop RAM Compatibility Guide — Verify your RAM is the correct type before purchasing, to avoid compatibility issues.