/*
POST TITLE: How to Check Your Laptop Warranty Before Upgrading
SLUG: how-to-check-laptop-warranty-before-upgrade
CATEGORIES: [89, 127]
FOCUS KEYWORD: check laptop warranty before upgrade
META DESCRIPTION: Learn how to verify your laptop warranty status before upgrading components. Understand what voids warranty and which upgrades are safe.
*/
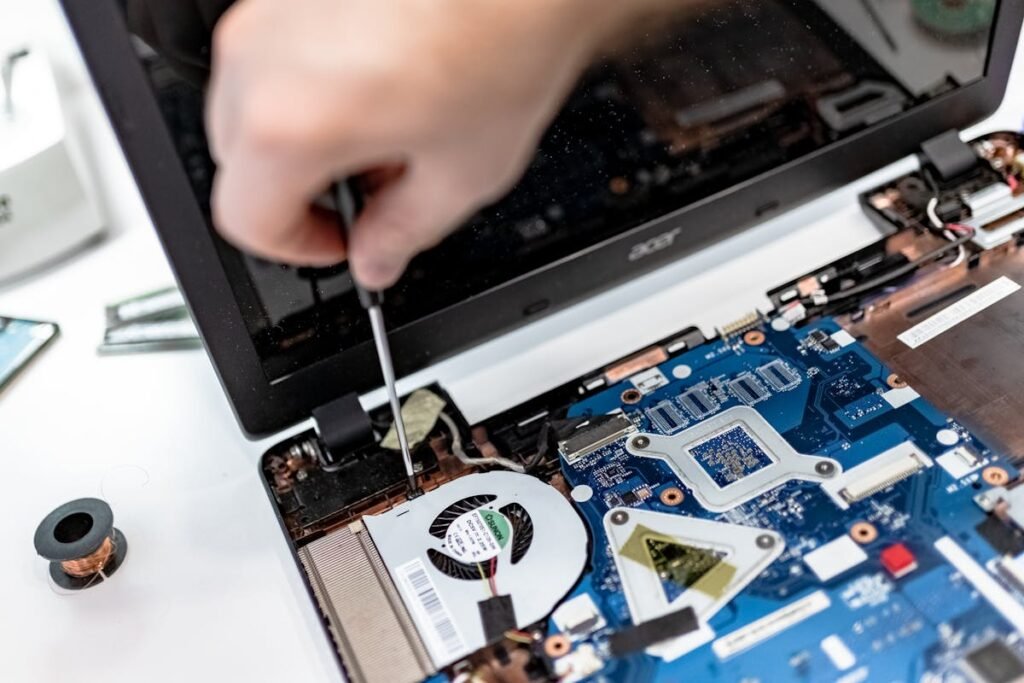
Opening your laptop to upgrade RAM or SSD may void warranty. Before you start, verify your warranty status and understand which upgrades are safe. This guide covers warranty checking, upgrade safety, and manufacturer policies.
Where to Check Your Warranty Status
Dell Laptops
- Visit dell.com/support
- Enter your Service Tag (on bottom of laptop or in System Information)
- Check “Warranty Information” section
- View coverage type and expiry date
HP Laptops
- Visit support.hp.com
- Enter your Serial Number (bottom of laptop)
- Navigate to “Warranty & Support”
- View coverage dates and type
Lenovo Laptops
- Visit lenovo.com/support
- Enter Serial Number or PSREF code (on machine label)
- Check “Warranty Information”
- Confirm coverage period
ASUS Laptops
- Visit asus.com/support
- Enter Serial Number (bottom label)
- View warranty status and expiry
Apple MacBooks
- Visit support.apple.com/warranty
- Enter Serial Number (Apple menu → About This Mac)
- Check coverage and AppleCare+ status
- Note: Apple discourages DIY repair of recent models
Warranty Types & Coverage
| Warranty Type | Coverage | DIY Upgrade Risk |
| Limited Manufacturer Warranty (standard) | 1 year; covers defects, excludes user damage | High risk—opening voids it |
| Extended Warranty (2-3 years) | Same as limited but longer term | High risk—same rules apply |
| AppleCare+ (Apple only) | 3 years; covers accidental damage | Very high risk—Apple won’t service opened devices |
| Accidental Damage Protection | Covers drops, spills, some failures | Medium risk—may exclude DIY damage |
Which Upgrades Void Warranty?
Policies vary by manufacturer, but general guidelines:
| Upgrade | Warranty Risk | Manufacturer Notes |
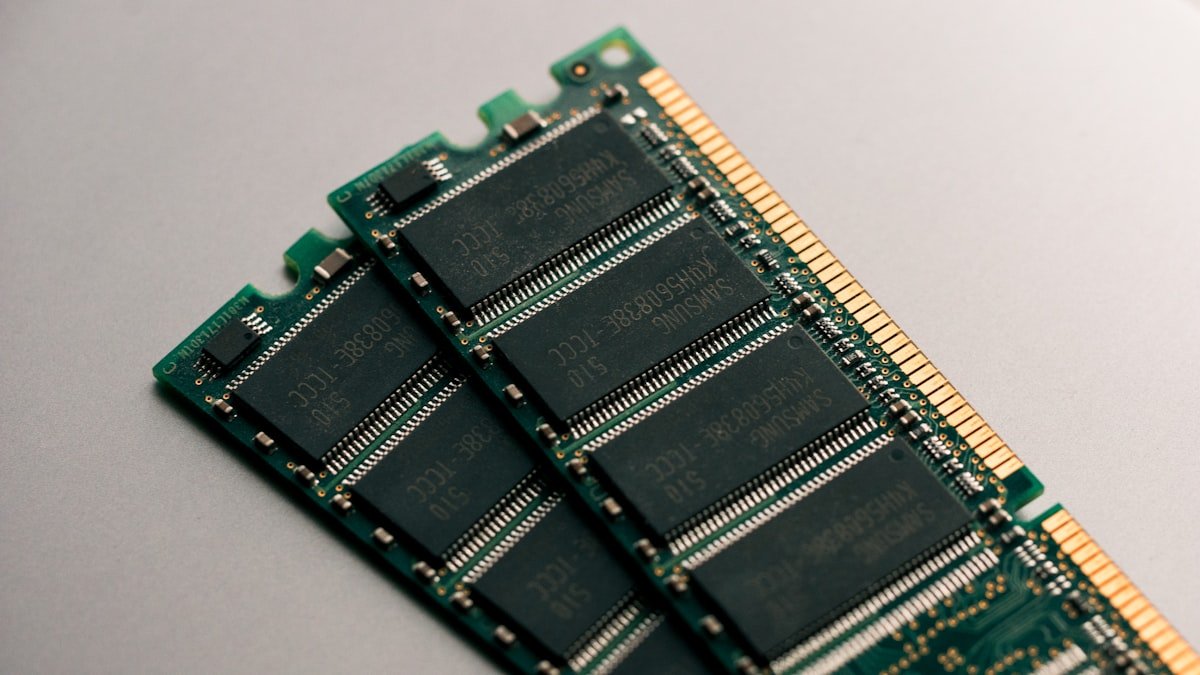
| RAM upgrade | Usually safe (especially if removable) | Dell, HP, Lenovo: RAM upgrades are user-replaceable parts |
| SSD upgrade | Usually safe (if M.2 slot is accessible) | Most allow M.2 upgrades; soldered drives are not upgradeable |
| Wi-Fi card upgrade | Medium risk (depends on brand) | Some manufacturers void warranty; others allow it |
| Screen replacement | High risk (opening voids it) | Manufacturers consider this repair, not upgrade |
| Thermal paste replacement | Very high risk (opens motherboard) | Considered disassembly; voids warranty on most brands |
| Keyboard replacement | High risk (opens chassis) | Most manufacturers void warranty |
Manufacturer-Specific Policies
Dell
- RAM/SSD: User-replaceable; upgrades allowed without voiding warranty if they cause no damage
- Opening chassis: Voids warranty unless damage is unrelated
- Thermal paste: Not user-serviceable; opening voids warranty
- Read: Dell’s “Service Manual” for your model for approved upgrades
HP
- RAM/SSD: Many models have user-accessible slots; generally allowed
- Screen/keyboard: Opening voids warranty
- Professional support: HP EliteBook series may have different policies—check warranty terms
Lenovo (ThinkPad)
- RAM/SSD: ThinkPads are designed for user upgrades; generally covered
- Service manuals: Lenovo publishes PSREF guides showing upgradeable components
- Non-upgradeable models: Some IdeaPads have soldered components; check specs
ASUS
- VivoBook: Many have user-accessible RAM/SSD; check manual
- Premium models: Often have limited user-serviceable parts
- Opening risk: High risk of voiding warranty; ASUS often seals units
Apple (MacBook)
- RAM/SSD: Modern MacBooks have soldered RAM (not upgradeable); SSD may be accessible on older models
- DIY repair: Apple discourages and voids warranty on any user-opened device
- AppleCare+: Adds accidental damage but does NOT cover DIY damage
- Right to repair: Limited; Apple strongly prefers authorized repair
Safe Upgrade Strategy
- Check warranty status: Use manufacturer’s online tool to verify expiry date
- Read warranty document: Find “User-Replaceable Parts” or “Service” section
- Check service manual: Download your laptop’s service manual (usually available on manufacturer support site)
- Verify upgrade component: Confirm RAM or SSD is listed as user-replaceable
- Document before opening: Take photos of original configuration (helpful if you need warranty service later)
- Upgrade carefully: Avoid damage to connectors, screws, or internal components
- Keep original parts: Store original RAM/SSD; reinstall if you need warranty service
What If I Damage Something During Upgrade?
If you accidentally damage a component (e.g., break a ribbon cable, strip a screw):
- Still under warranty: Manufacturer may refuse service (damage caused by user). Professional repair costs £100-300+
- Warranty expired: Professional repair is your only option; costs vary
- Accidental Damage Protection: Check if your policy covers DIY damage (most don’t)
This is why slow, careful work during upgrades is critical.
The Right to Repair Movement
Increasingly, manufacturers are allowing user repairs:
- Framework Laptop: Designed for user upgrades; warranty covers DIY repairs
- Apple (limited): Offering some parts and repair guides through “Self Service Repair”
- EU regulations: Right to repair laws may require manufacturers to allow upgrades by 2025-2026
Check your laptop’s warranty document for specific upgrade-friendly policies.
When to Avoid DIY and Use Professional Service
Use professional repair if:
- Your warranty is still active and covers the issue
- You’re uncomfortable disassembling your laptop
- The upgrade requires opening sealed areas (screen, keyboard)
- Your laptop is very expensive or relatively new
- You damage something during DIY and need warranty coverage
Related Guides
- Best Tools for Laptop Repair (2026)
- Laptop Upgrade Difficulty Ratings by Brand
- Right to Repair Laptop Guide (2026)
FAQ
Recommended Products
Looking for compatible upgrades? Here are our top picks available on Amazon:
Recommended Laptop Upgrades (RAM & SSD)
As an Amazon Associate we earn from qualifying purchases. Prices & availability shown on Amazon.
How we verify this guide
We cross-reference compatibility figures against manufacturer specifications where available, official service manuals, and the standards that govern fit — memory type and speed (DDR4 / DDR5 / LPDDR5), maximum supported capacity and slot count, SSD form factor and interface (M.2 2280, NVMe PCIe vs SATA, keying), and charger wattage and connector (USB-C Power Delivery, GaN). We’re explicit about soldered or non-upgradeable parts, prioritise primary sources over retailer listings, and re-verify the data on a regular cycle. More on our method →