
Affiliate disclosure: this page contains affiliate links — if you buy through them we may earn a commission at no extra cost to you. As an Amazon Associate we earn from qualifying purchases.
Acer Aspire Desktop Upgrade Guide (2026) — RAM, SSD & Storage
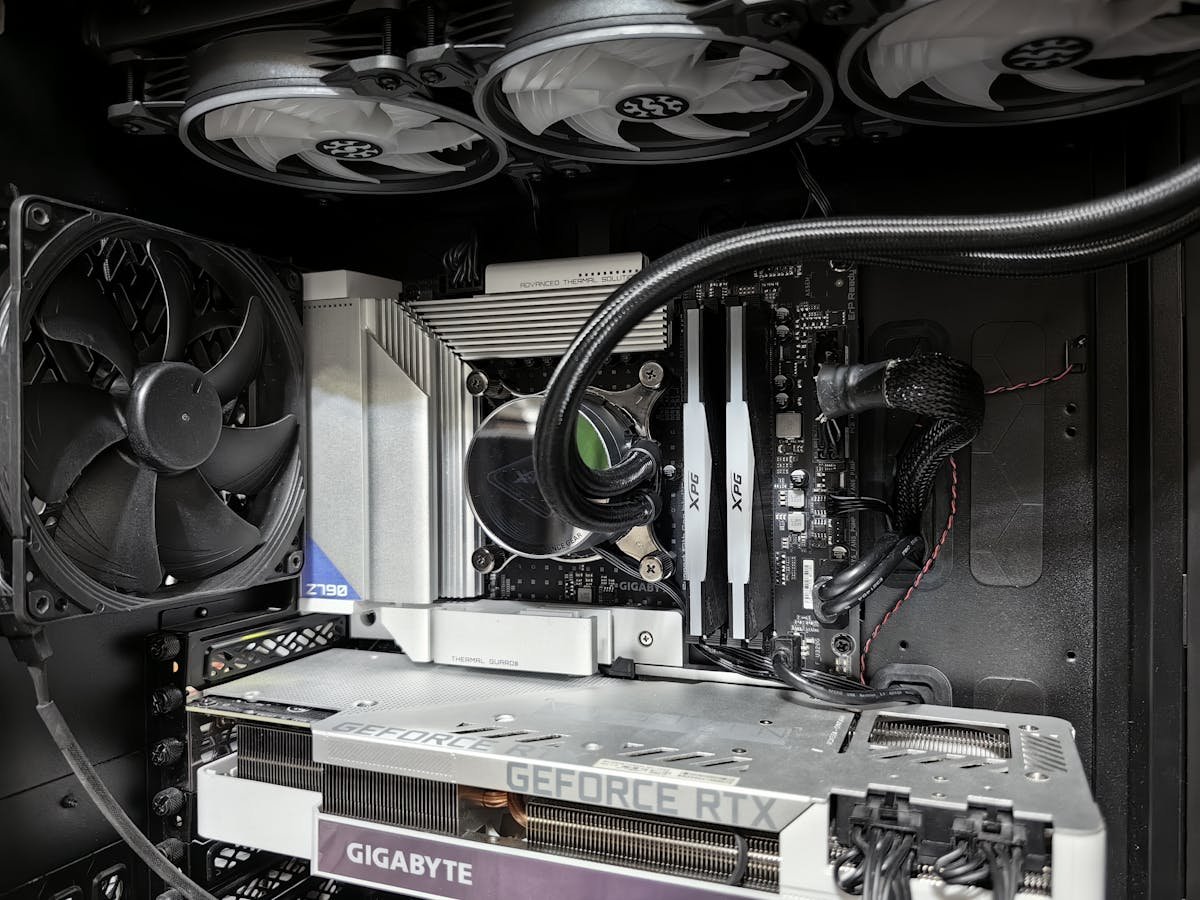
Acer’s Aspire TC desktop line targets budget and mid-range buyers who want reliable everyday computing with the flexibility to upgrade over time. The TC series uses industry-standard components, making memory and storage upgrades straightforward and cost-effective. This guide covers current Aspire models, specifications, and detailed upgrade procedures.
Acer Aspire TC Model Lineup
Current Models Overview
| Model | Form Factor | Processor Tier | Base Memory | Target User |
|---|---|---|---|---|
| Aspire TC-1780 | Mid-tower | Intel Core i5–i7 (12th–13th gen) | 8GB–16GB DDR4 | Everyday computing, light office work |
| Aspire TC-1760 | Mid-tower (compact variant) | Intel Core i3–i5 (12th gen) | 8GB DDR4 | Home office, budget builds |
| Aspire TC-885 | Mid-tower | Intel Core i3–i5, AMD Ryzen 3–5 | 8GB–16GB DDR4 | Entry-level gaming, productivity |
Why Aspire TC for upgrades? These machines use fully standard components — no proprietary parts. You can upgrade with any retail DDR4/DDR5 RAM and any M.2 NVMe or SATA SSD without special compatibility concerns.
Memory (RAM) Specifications
Aspire TC-1780 & TC-1760
| Specification | Details |
|---|---|
| RAM Type | DDR4-3200 MHz (standard) |
| Form Factor | U-DIMM (full-size desktop modules) |
| DIMM Slots | 2 or 4 (depending on motherboard revision) |
| Stock Configuration | 8GB or 16GB (1 × 8GB or 1 × 16GB, or 2 × 8GB) |
| Maximum Supported | 64GB (2 × 32GB) on 2-slot models, 128GB (4 × 32GB) on 4-slot models |
Aspire TC-885 (Older/Legacy Model)
| Specification | Details |
|---|---|
| RAM Type | DDR4-2666 or DDR4-3200 (depends on variant) |
| Form Factor | U-DIMM (full-size desktop modules) |
| DIMM Slots | 2 or 4 |
| Maximum Supported | 64GB–128GB (depending on slot count) |
DDR4 note: Acer Aspire TC models released prior to 2024 use DDR4 exclusively. DDR5 support may appear in 2024+ Aspire models, but as of this writing, DDR4 remains standard for the budget/mid-range TC line.
Storage (SSD/NVMe & SATA) Specifications
M.2 NVMe Slots
| Model | M.2 Slots | PCIe Speed | Form Factors | Max Capacity |
|---|---|---|---|---|
| TC-1780 | 1 or 2 | PCIe 3.0 (6 Gbps) or PCIe 4.0 (16 Gbps) | 2242, 2260, 2280 | 2TB–4TB |
| TC-1760 | 1 | PCIe 3.0 (6 Gbps) | 2280 | 2TB–4TB |
| TC-885 | 1 | PCIe 3.0 (6 Gbps) | 2280 | 2TB–4TB |
SATA Storage
Most Aspire TC models include 2.5-inch SATA bays (typically 1 to 2):
- Standard SATA 6 Gbps speed
- Perfect for secondary storage or backup drives
- Much cheaper than NVMe SSDs
- Suitable for games, media libraries, or archival storage
Practical upgrade path: Start with the base NVMe drive for OS and applications. Add a SATA SSD to the 2.5-inch bay for game or media storage. This combination offers the best balance of speed (NVMe for OS) and capacity (SATA for bulk storage) at reasonable cost.
Step-by-Step RAM Upgrade Procedure
Tools Required
- Screwdriver (Phillips, size #1 or #0)
- Anti-static wrist strap (optional)
- Flashlight
Upgrade Steps
Step 1: Power Down and Unplug
- Shut down the Aspire TC completely
- Unplug the power cable from the back
- Wait 30 seconds
Step 2: Open the Chassis
- Most Acer Aspire TC cases use Phillips screws on the side panel (typically 2 to 4 screws)
- Locate and unscrew these fasteners
- Slide the side panel off to reveal the interior
Step 3: Locate Memory Slots
- Look toward the center of the motherboard
- You’ll see vertical U-DIMM slots
- Most TC models have 2 or 4 slots
Step 4: Ground Yourself
- Touch a bare metal part of the case to discharge static electricity
Step 5: Remove Existing Modules
- Press the ejector clips on both ends of each DIMM outward
- The module will pop up at an angle
- Pull it straight out and place it aside
Step 6: Install New Modules
- Align the new DIMM with the slot (notch must match the key)
- Press down firmly at a 45-degree angle until the ejector clips snap around both ends
- The module should now be fully vertical and seated
Step 7: Close the Chassis
- Slide the side panel back into place
- Reinstall the Phillips screws and tighten firmly (not over-tight)
- Reconnect the power cable and power on
Step 8: Verify Installation
- Boot to Windows and right-click This PC → Properties
- Confirm the new RAM total is listed
Step-by-Step NVMe SSD Upgrade
What You Need: Very small Phillips screwdriver (#000 or #00), anti-static strap, new M.2 NVMe drive
Procedure:
- Power down and unplug the Aspire TC
- Open the side panel as described above
- Locate the M.2 slot on the motherboard (usually labeled M.2_1, may be near the top-center or right side)
- If there’s a heatspreader covering the slot, gently unscrew it (single screw, usually brass)
- Hold your new NVMe drive at a 30-degree angle and insert it into the slot
- Press down until the drive sits flat against the motherboard
- Install the retaining screw at the far end of the drive (small brass screw)
- If desired, reinstall the heatspreader (optional but improves thermals)
- Close the case and power on
- Boot to Windows and open Disk Management to initialize the new drive if necessary
Step-by-Step SATA SSD Installation
What You Need: Screwdriver (Phillips #1), new 2.5-inch SATA SSD, SATA data cable (may be provided), SATA power cable (should be available in the case)
Procedure:
- Power down and unplug the desktop
- Open the side panel
- Locate the 2.5-inch drive bay (usually on the front or bottom of the case)
- Slide the new SATA SSD into the bay, aligning the screw holes
- Secure with two small Phillips screws on each side (do not over-tighten)
- Connect a SATA data cable from the motherboard to the drive (look for connectors labeled SATA1, SATA2, etc.)
- Connect a SATA power cable from the PSU to the drive (L-shaped connector)
- Close the case and power on
- Boot to Windows and initialize the drive in Disk Management if necessary
Cable routing: Route SATA cables away from fans and heat sources. SATA cables can handle some heat, but direct fan airflow may damage them over time.
Recommended Upgrade Components for Aspire TC
| Component | Capacity | Price Range* | Link |
|---|---|---|---|
| Kingston FURY Beast DDR4 | 8GB–32GB | £15–70 | View on Amazon |
| Corsair Vengeance DDR4 | 8GB–32GB | £18–80 | View on Amazon |
| Crucial P3 NVMe (PCIe 3.0) | 500GB–2TB | £30–100 | View on Amazon |
| Kingston A3000 NVMe (PCIe 3.0) | 500GB–2TB | £25–90 | View on Amazon |
| Samsung 870 EVO SATA SSD | 250GB–1TB | £25–80 | View on Amazon |
| WD Green SATA SSD | 240GB–1TB | £20–70 | View on Amazon |
Troubleshooting Common Issues
New RAM Not Recognized or Only Partial Recognition
Solution: Power down, open the case, and firmly reseat each new module. Ensure both ejector clips engage on both sides. Test with one module at a time if possible to identify if one is defective.
New SSD Not Appearing in Windows
Solution: Open Disk Management, find your new drive, right-click it, and select Initialize Disk (choose GPT for modern systems). Then right-click again and select New Simple Volume to format and create a usable partition.
SATA Drive Not Detected
Solution: Verify both the data and power cables are fully connected. Reseat the drive itself in the bay to ensure metal contacts are clean. Try a different SATA port on the motherboard (SATA1, SATA2, etc.) in case one port is faulty.
Related Guides
- Acer Predator Orion Upgrade Guide (2026) — Gaming Desktop Upgrades
- Laptop RAM Compatibility Guide (2026) — DDR4, DDR5 & LPDDR5
- Laptop SSD Compatibility Guide (2026) — NVMe, SATA, M.2 Sizes Explained
Frequently Asked Questions
Prices and availability may vary. As an Amazon Associate, we earn from qualifying purchases.
Recommended upgrades
As an Amazon Associate we earn from qualifying purchases. Prices & availability shown on Amazon.
For desktops that use DDR5 DIMMs
For desktops that use DDR4 DIMMs
M.2 2280 NVMe SSDs
*Indicative UK street prices, shown for guidance only. These are not live Amazon prices and change frequently — check the current price on Amazon before buying.