Affiliate disclosure: this page contains affiliate links — if you buy through them we may earn a commission at no extra cost to you. As an Amazon Associate we earn from qualifying purchases.
You’ve just installed a brand-new SSD in your computer. You boot up, open File Explorer, and… it’s not there. The drive doesn’t appear anywhere. Don’t panic. This is completely normal. New SSDs arrive uninitialised and unformatted—they’re blank slates. Before your operating system can recognise and use them, you need to initialise the drive, create a partition, and format it. This guide walks you through exactly how to do it on Windows and macOS.
Why Your New SSD Doesn’t Show Up
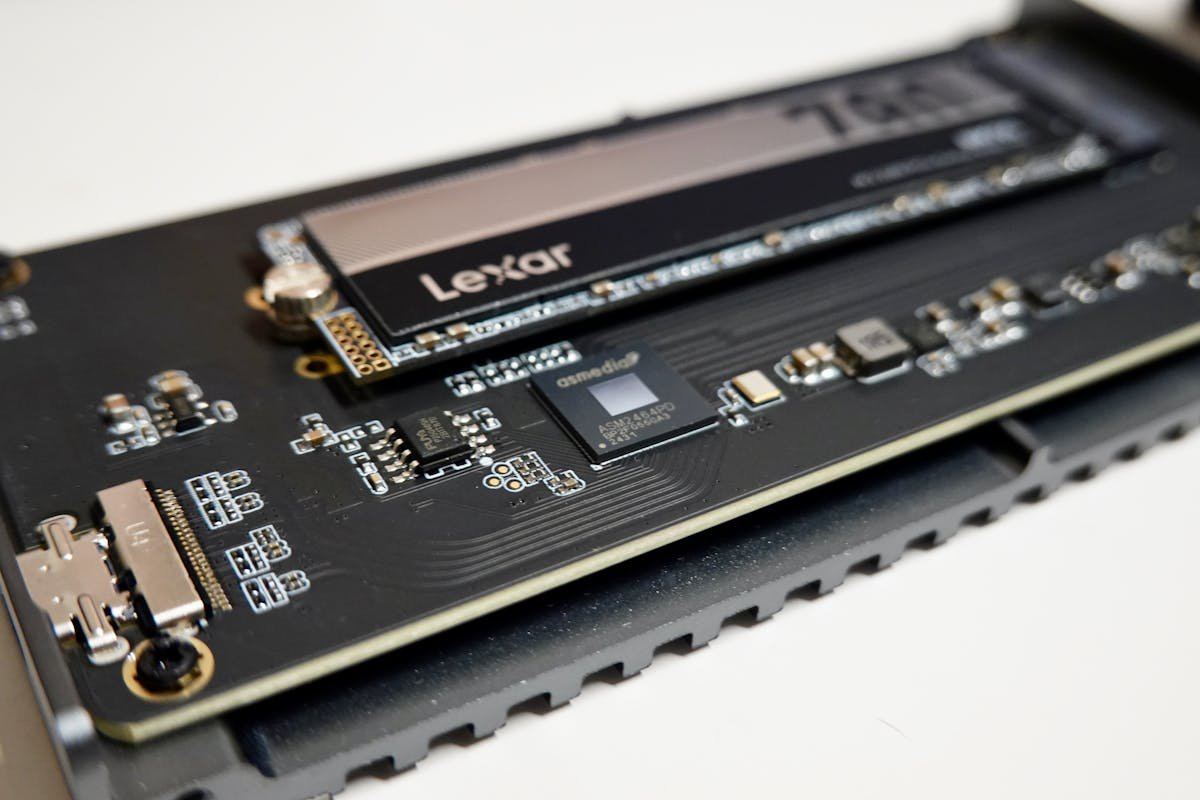
When you first install a new SSD, Windows won’t display it in File Explorer or Disk Management. It won’t even appear in the notification centre. That’s because the drive hasn’t been initialised yet. Initialisation is the process of preparing a storage device for use—it sets up the partition table (either GPT or MBR) and prepares the drive to receive partitions and data.
Without initialisation, the drive is essentially invisible to your operating system. It exists, your BIOS will recognise it, but Windows has no idea what to do with it. Think of initialisation as creating the table of contents for a book—without it, the pages have no structure.
The good news: initialisation takes just a few minutes using Windows Disk Management, and the process is straightforward once you know where to look.
Step-by-Step: Initialising Your SSD in Windows Disk Management
Disk Management is the easiest way to initialise your new SSD. It’s a built-in Windows tool that gives you complete control over your drives.
1. Open Disk Management
Press Windows Key + X and select Disk Management from the menu. Alternatively, right-click This PC on your desktop, choose Manage, then click Disk Management in the left sidebar.
2. Locate Your New Drive
In the lower half of the Disk Management window, you’ll see a list of all connected drives. Your new SSD will likely appear with a black bar across it and labelled Unknown and Unallocated. Make a note of which disk number it is (Disk 1, Disk 2, etc.)—this is important for the next step.
3. Right-Click and Select “Initialise Disk”
Right-click on the new drive’s bar (the black section labelled “Unallocated”). A context menu will appear. Select Initialise Disk.
4. Choose GPT or MBR (See Section Below for Guidance)
A dialogue box will pop up asking you to choose between MBR (Master Boot Record) and GPT (GUID Partition Table). For most users on modern systems, GPT is the correct choice. If you’re unsure, see the next section.
5. Click OK
After selecting GPT or MBR, click OK. The initialisation process is nearly instant—the drive’s partition table is now set up.
6. Create a New Simple Volume
The drive is now initialised but still unusable—you need to create a partition on it. Right-click the unallocated space (which should now be white or light grey, no longer black) and select New Simple Volume.
7. Follow the New Simple Volume Wizard
A wizard will guide you through partition creation. Here’s what you’ll see:
- Specify Volume Size: The default is to use all available space on the drive. This is fine for most users. If you want to create multiple partitions, enter a smaller size (in MB). For a 1TB drive, leaving it at max is typically best.
- Assign a Drive Letter: Windows will automatically assign the next available letter (D:, E:, etc.). Accept this unless you have a specific reason to change it.
- Format the Volume: Choose NTFS as the file system—this is the standard for Windows. Set the allocation unit size to Default. Give your drive a name (e.g., “New SSD” or “Storage”) if you wish.
- Quick Format: Tick the “Perform a quick format” checkbox. This speeds up the process dramatically and is fine for new drives.
8. Complete the Wizard
Click Next, review your settings, and click Finish. Windows will format the drive, and within seconds, your new SSD will appear in File Explorer as a usable drive letter.
GPT vs MBR — Which to Choose?
When you initialise a drive, you must choose between GPT and MBR. This choice determines the partition table format—the underlying structure that tells Windows how the drive is organised.
GPT (GUID Partition Table)
Use GPT if:
- You’re running Windows 10 or 11 (modern systems)
- Your drive is larger than 2TB (MBR has a hard limit)
- You want future-proofing and modern features
- You’re installing on a system with UEFI firmware (almost all modern computers)
GPT is the modern standard and is more robust. It supports drives larger than 2TB and allows up to 128 partitions per drive instead of MBR’s 4.
MBR (Master Boot Record)
Use MBR only if:
- You’re running Windows 7 or older
- Your drive is smaller than 2TB and you have legacy hardware requirements
- You need compatibility with very old systems
For virtually all modern users, GPT is the right choice. If you’re in doubt, go with GPT.
Using DiskPart (Command Line Alternative)
If Disk Management isn’t working or you prefer the command line, you can use DiskPart. This method is more advanced but gives you precise control.
- Press Windows Key + R, type diskpart, and press Enter.
- Type list disk to see all drives. Identify your new SSD by size.
- Type select disk X (replace X with your disk number).
- Type clean to wipe the drive (this removes any existing partition table).
- Type convert gpt to set the partition table to GPT (or convert mbr for MBR).
- Type create partition primary to create a new partition using all available space.
- Type format fs=ntfs quick to format the partition as NTFS.
- Type assign to assign a drive letter automatically.
- Type exit to close DiskPart.
After this, your drive will appear in File Explorer and Disk Management as a fully usable partition.
Initialising an SSD on macOS
If you’re on a Mac, the process is similar but uses a different tool called Disk Utility.
Step-by-Step for macOS
- Open Finder and navigate to Applications → Utilities → Disk Utility.
- Your new SSD will appear in the left sidebar, typically labelled “Untitled” or with a generic name. Click on it.
- Click the Erase button at the top.
- Give the drive a name (e.g., “New SSD”).
- For the file system, choose APFS (Apple’s modern format) or Mac OS Extended (Journaled) if you need older compatibility.
- For the scheme, select GUID Partition Map (Mac’s equivalent of GPT).
- Click Erase to complete the process.
Your SSD will now be ready to use on macOS.
Setting Up as a Boot Drive vs Storage Drive
The process above creates a standard storage partition. If you want to make your new SSD a boot drive (the drive Windows boots from), you’ll need to clone your existing Windows installation or perform a fresh Windows install onto the new drive. That’s a separate process covered in our hardware upgrade guide.
For most users installing an SSD as additional storage, the steps above are all you need.
Common Mistakes When Initialising
1. Initialising the Wrong Disk
This is the most dangerous mistake. Always double-check the disk number and size before right-clicking. If you initialise your main Windows drive by accident, you’ll lose all your data. Disk Management clearly shows each drive’s capacity—use this to confirm you’re selecting the correct one.
2. Choosing MBR for Large Drives
If you have a 4TB drive, don’t choose MBR—Windows will only recognise the first 2TB. Always use GPT for modern systems.
3. Not Waiting for the Format to Complete
When you create a new volume, Windows formats the drive. On large drives, this can take a minute or two. Don’t interrupt this process or eject the drive. Let it finish completely before using the drive.
4. Using FAT32 Instead of NTFS
Some older tools default to FAT32. For a primary storage or boot drive on Windows, always use NTFS. FAT32 has file size limits and is outdated for modern systems.
Frequently Asked Questions
Q: My new SSD shows in BIOS but not in Windows. What’s wrong?
A: Your drive isn’t initialised yet. Follow the steps in “Step-by-Step: Initialising Your SSD in Windows Disk Management” above. Once initialised and partitioned, it will appear in File Explorer.
Q: Can I initialise a drive without losing data?
A: If the drive already has data on it, initialisation will erase it. Only initialise brand-new, empty drives or drives you’re sure you want to wipe completely.
Q: How long does initialisation take?
A: Initialisation itself is instant. Partitioning takes seconds. Quick formatting takes a few seconds to a minute depending on drive size. The entire process should complete in under 5 minutes.
Q: Should I use GPT or MBR?
A: Use GPT. It’s the modern standard, supports larger drives, and is required for most Windows 11 installations. MBR is only necessary for very old systems.
Q: Can I change from MBR to GPT after initialisation?
A: Yes, but you’ll lose all data on the drive. Right-click the drive in Disk Management and select “Convert to GPT Disk” (you may need to delete all partitions first). Alternatively, use DiskPart’s convert gpt command.
Q: What’s the difference between initialising and formatting?
A: Initialisation sets up the partition table (GPT or MBR). Formatting creates a file system (like NTFS) on a partition. You initialise the drive once; you may format partitions multiple times.
Q: My SSD shows as “Unallocated” in Disk Management. Is it broken?
A: No. “Unallocated” means the space hasn’t been assigned to a partition yet. Create a new volume (as shown above) and it will become usable.
Recommended Products for SSD Installation
| Product | Why We Recommend It | Amazon |
|---|---|---|
| Samsung 990 EVO 1TB NVMe | Excellent all-round NVMe SSD with fast sequential speeds and reliable performance. PCIe 4.0 makes it future-proof and widely compatible. | View on Amazon |
| WD Black SN850X NVMe | High-performance gaming and workstation SSD with excellent sustained write speeds and 5-year warranty. Trusted by professionals. | View on Amazon |
| Kingston NV2 1TB NVMe | Budget-friendly NVMe with solid performance. Great choice if you’re not looking to spend on premium models but want faster speeds than SATA. | View on Amazon |
| Samsung 870 EVO 1TB SATA SSD | Reliable SATA SSD for budget upgrades or laptops that don’t support NVMe. Still dramatically faster than mechanical hard drives. | View on Amazon |
| USB-to-SATA Adapter or External Enclosure | Allows you to use SATA SSDs externally via USB. Useful for testing, backups or using old drives with new computers. | View on Amazon |
| NVMe External Enclosure (USB-C) | Convert an NVMe drive into a portable external SSD. Perfect for data transfers, backups, or using an old NVMe as a bootable emergency drive. | View on Amazon |
| Precision Screwdriver Set | Essential for opening laptop or desktop cases and removing/installing SSDs safely. Look for a set with magnetic tips to prevent dropping screws inside your computer. | View on Amazon |
| Anti-Static Wrist Strap | Protects your SSD and other components from static discharge during installation. Inexpensive insurance against costly damage. | View on Amazon |
Next Steps
Once your SSD is initialised, formatted, and showing in File Explorer, you can start using it immediately for file storage and backups. If you want to migrate your Windows installation to the new drive (making it your boot drive), check our SSD compatibility guide for cloning software recommendations and step-by-step instructions.
For more on SSD installation, performance, and troubleshooting, explore our complete hardware upgrade guides.
Prices and availability may vary. As an Amazon Associate, we earn from qualifying purchases.
Related Troubleshooting Guides
- Laptop Upgrade Troubleshooting Hub — Complete reference guide for all RAM and SSD upgrade issues.
- SSD Not Showing Up After Installation — If your SSD isn’t detected in BIOS or Windows, start here.
- SSD Disappears During Use — Fix intermittent SSD dropouts, crashes and overheating issues.
- Laptop SSD Compatibility Guide — Verify M.2 slot types, NVMe vs SATA, and drive compatibility with your laptop.
Recommended upgrades
As an Amazon Associate we earn from qualifying purchases. Prices & availability shown on Amazon.
M.2 2280 NVMe SSDs
How we verify this guide
We cross-reference compatibility figures against manufacturer specifications where available, official service manuals, and the standards that govern fit — memory type and speed (DDR4 / DDR5 / LPDDR5), maximum supported capacity and slot count, SSD form factor and interface (M.2 2280, NVMe PCIe vs SATA, keying), and charger wattage and connector (USB-C Power Delivery, GaN). We’re explicit about soldered or non-upgradeable parts, prioritise primary sources over retailer listings, and re-verify the data on a regular cycle. More on our method →