Affiliate disclosure: this page contains affiliate links — if you buy through them we may earn a commission at no extra cost to you. As an Amazon Associate we earn from qualifying purchases.
Upgrading RAM or storage is one of the most cost-effective ways to improve desktop performance. This comprehensive guide covers compatibility factors, installation procedures, and recommended components for your system.
Understanding Desktop Upgrades
Desktop computers offer significantly more upgrade flexibility than laptops. Most desktops allow easy RAM and storage expansion, whilst some systems even support processor upgrades depending on the motherboard socket generation.
Before purchasing any components, identify your exact motherboard model and BIOS version. This information determines which RAM speeds are supported, how many storage drives you can install, and the maximum capacity each component supports.
Compatibility Essentials
RAM Compatibility: Check your motherboard specifications for supported DDR generation (DDR4 vs DDR5), maximum capacity, and recommended speeds. Most systems accept memory modules within a broad speed range, automatically running at the lowest common speed when mixed.
Storage Compatibility: Verify available M.2 NVMe slots and SATA connections. Modern boards typically support both, but capacity and speed vary. Check the motherboard manual for slot-specific PCIe generation (Gen 3, 4, or 5) to ensure maximum performance.
Installation Guide
Before starting: Power off completely and unplug the power supply. Wait 30 seconds, then ground yourself by touching the metal chassis.
RAM installation:
- Open the side panel
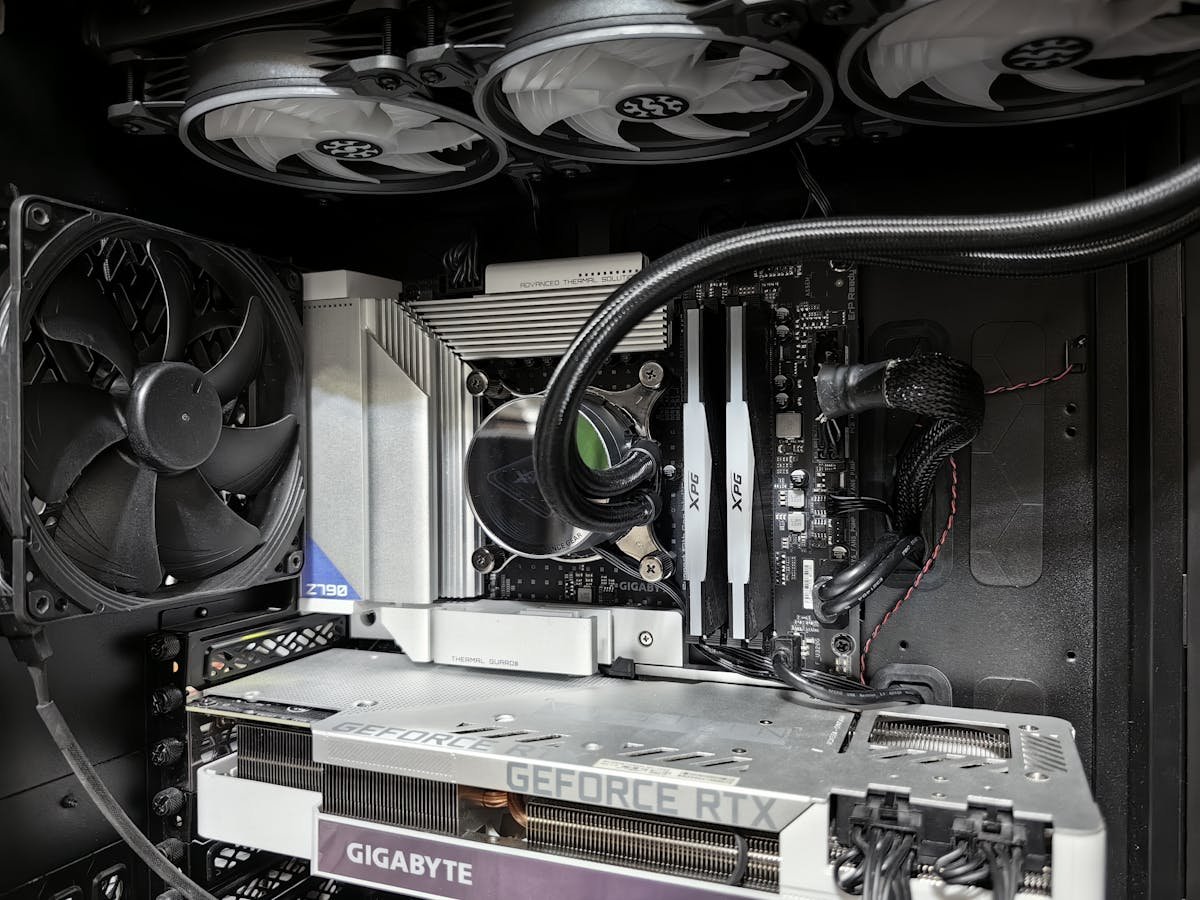
- Locate RAM slots near the CPU (usually 2-4 slots)
- Press the retaining clips outward to release any existing modules
- Align the notch in the new module with the key in the slot
- Insert at a slight angle, then press straight down until clips snap
- Close the panel and power on
SSD installation (NVMe):
- Locate the M.2 slot(s) on the motherboard
- Remove the small Phillips screw at the far end of the slot
- Insert the SSD at a 30-degree angle
- Press down gently and fasten the screw
- Power on and verify in BIOS or Disk Management
SSD installation (SATA 2.5″):
- Mount the SSD in a 2.5-inch bracket or bay
- Connect the SATA data cable to the motherboard
- Connect the SATA power cable from the power supply
- Power on and verify in BIOS
Recommended Products
Related Guides
- RAM Compatibility Guide
- SSD Compatibility Guide
- How to Install Desktop RAM
- How to Install Desktop SSD
- Best DDR4 RAM 2026
- Best Desktop SSD 2026
With the proper compatibility information and installation procedures, upgrading your desktop is straightforward and accessible to most users. Start with RAM for immediate responsiveness gains, then add SSD capacity for expanded storage.
Recommended upgrades
As an Amazon Associate we earn from qualifying purchases. Prices & availability shown on Amazon.
M.2 2280 NVMe SSDs
How we verify this guide
We cross-reference compatibility figures against manufacturer specifications where available, official service manuals, and the standards that govern fit — memory type and speed (DDR4 / DDR5 / LPDDR5), maximum supported capacity and slot count, SSD form factor and interface (M.2 2280, NVMe PCIe vs SATA, keying), and charger wattage and connector (USB-C Power Delivery, GaN). We’re explicit about soldered or non-upgradeable parts, prioritise primary sources over retailer listings, and re-verify the data on a regular cycle. More on our method →